Finding Your Vintage Voice: The Ultimate Guide to Antique Kitchen Decor
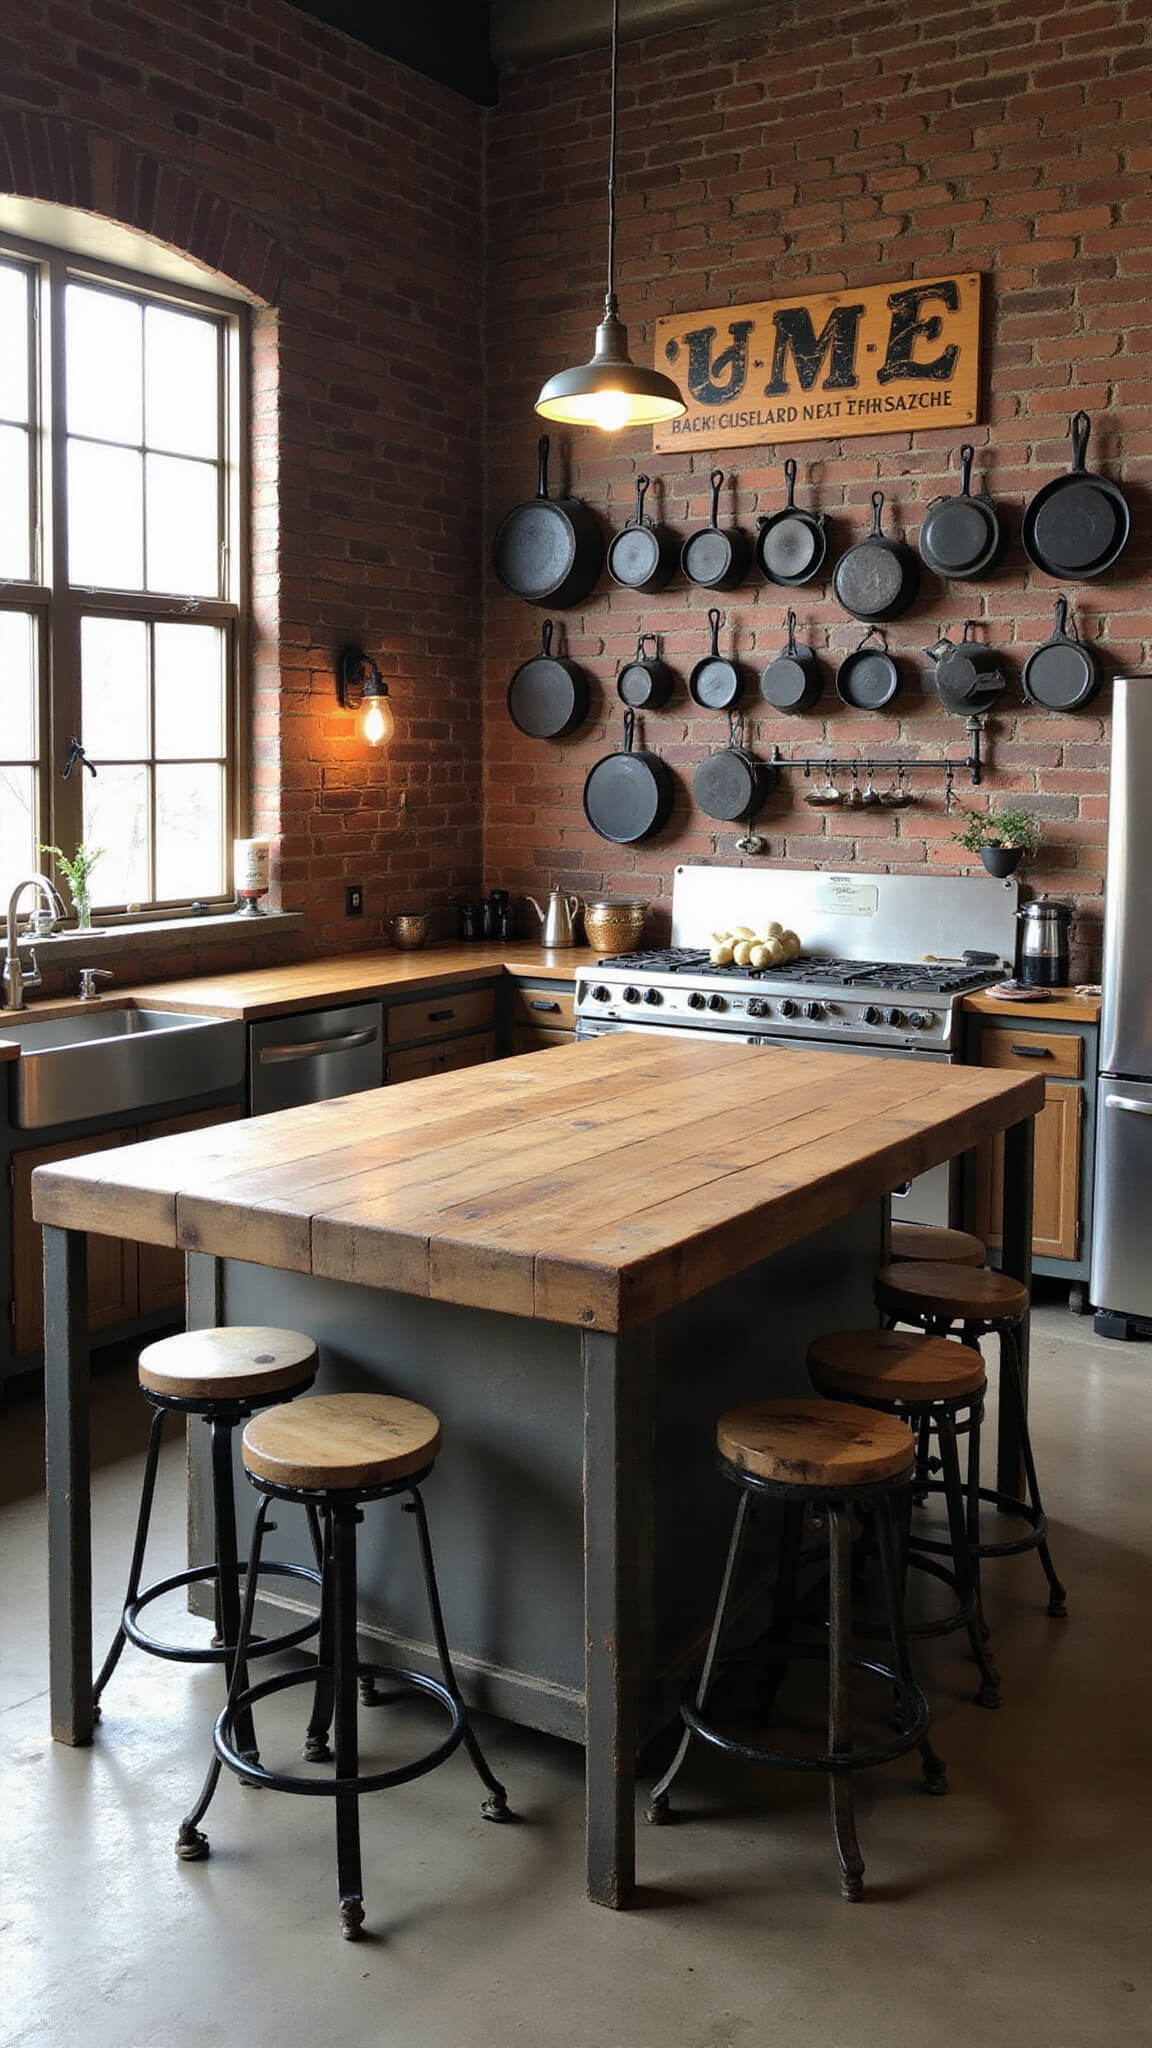
I’ve been obsessing over vintage kitchens since I accidentally inherited my grandmother’s cast iron skillet collection. That happy accident turned into a full-blown antique kitchen renovation that had my friends asking, “How did you create this time machine?”
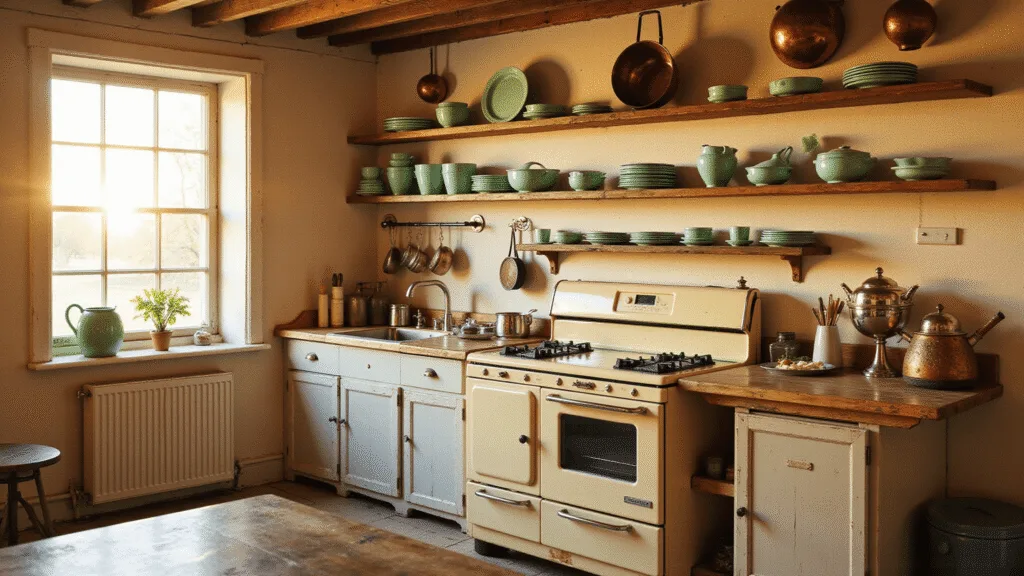
Antique kitchen decor transforms ordinary cooking spaces into nostalgic havens filled with character. The worn edges of a farmhouse sink, the patina on copper cookware, and the gentle tick of a vintage wall clock – these elements tell stories while creating an inviting atmosphere.
What Makes Antique Kitchen Decor So Special?
There’s something magical about stepping into a kitchen that feels like it’s been loved for generations.
Antique kitchens aren’t just places to cook – they’re living museums where every item has a history or at least pretends to have one. The best part? You don’t need a huge budget or professional design experience to create this look.
Getting Started: The Basics of Antique Kitchen Styling
Before rushing to the nearest flea market, let’s cover some essential information:
Quick Facts:
- Photography Time: 2-3 hours
- Styling Time: 3-4 hours
- Total Creation Time: 6-8 hours
- Ideal Space: Medium-sized kitchen (around 10×12 feet)
- DIY Difficulty: Moderate to high
- Budget Range: $500-$1,500
Style Information:
- Design Category: Antique or Vintage Farmhouse
- Color Palette: Neutrals with pastel pops, earthy browns and greens
- Perfect For: People who love cozy, nostalgic spaces with character
- Seasonal Appeal: Year-round, but especially charming in summer and autumn
Essential Tools for Capturing Your Antique Kitchen
Must-Have Tools:
- Camera Equipment: Good smartphone or DSLR with macro lens
- Lighting: Natural light + softbox lights
- Styling Props: Vintage trivets, distressed cutting boards, ceramic jugs
- Editing Software: Adobe Lightroom
Budget-Friendly Alternatives:
- Use phone portrait mode and filters
- Position near north-facing windows
- Scout thrift stores and attics
- Try free apps like VSCO or Snapseed
Creating Your Antique Kitchen: The Visual Elements
Focal Point Pieces
Every antique kitchen needs statement pieces:
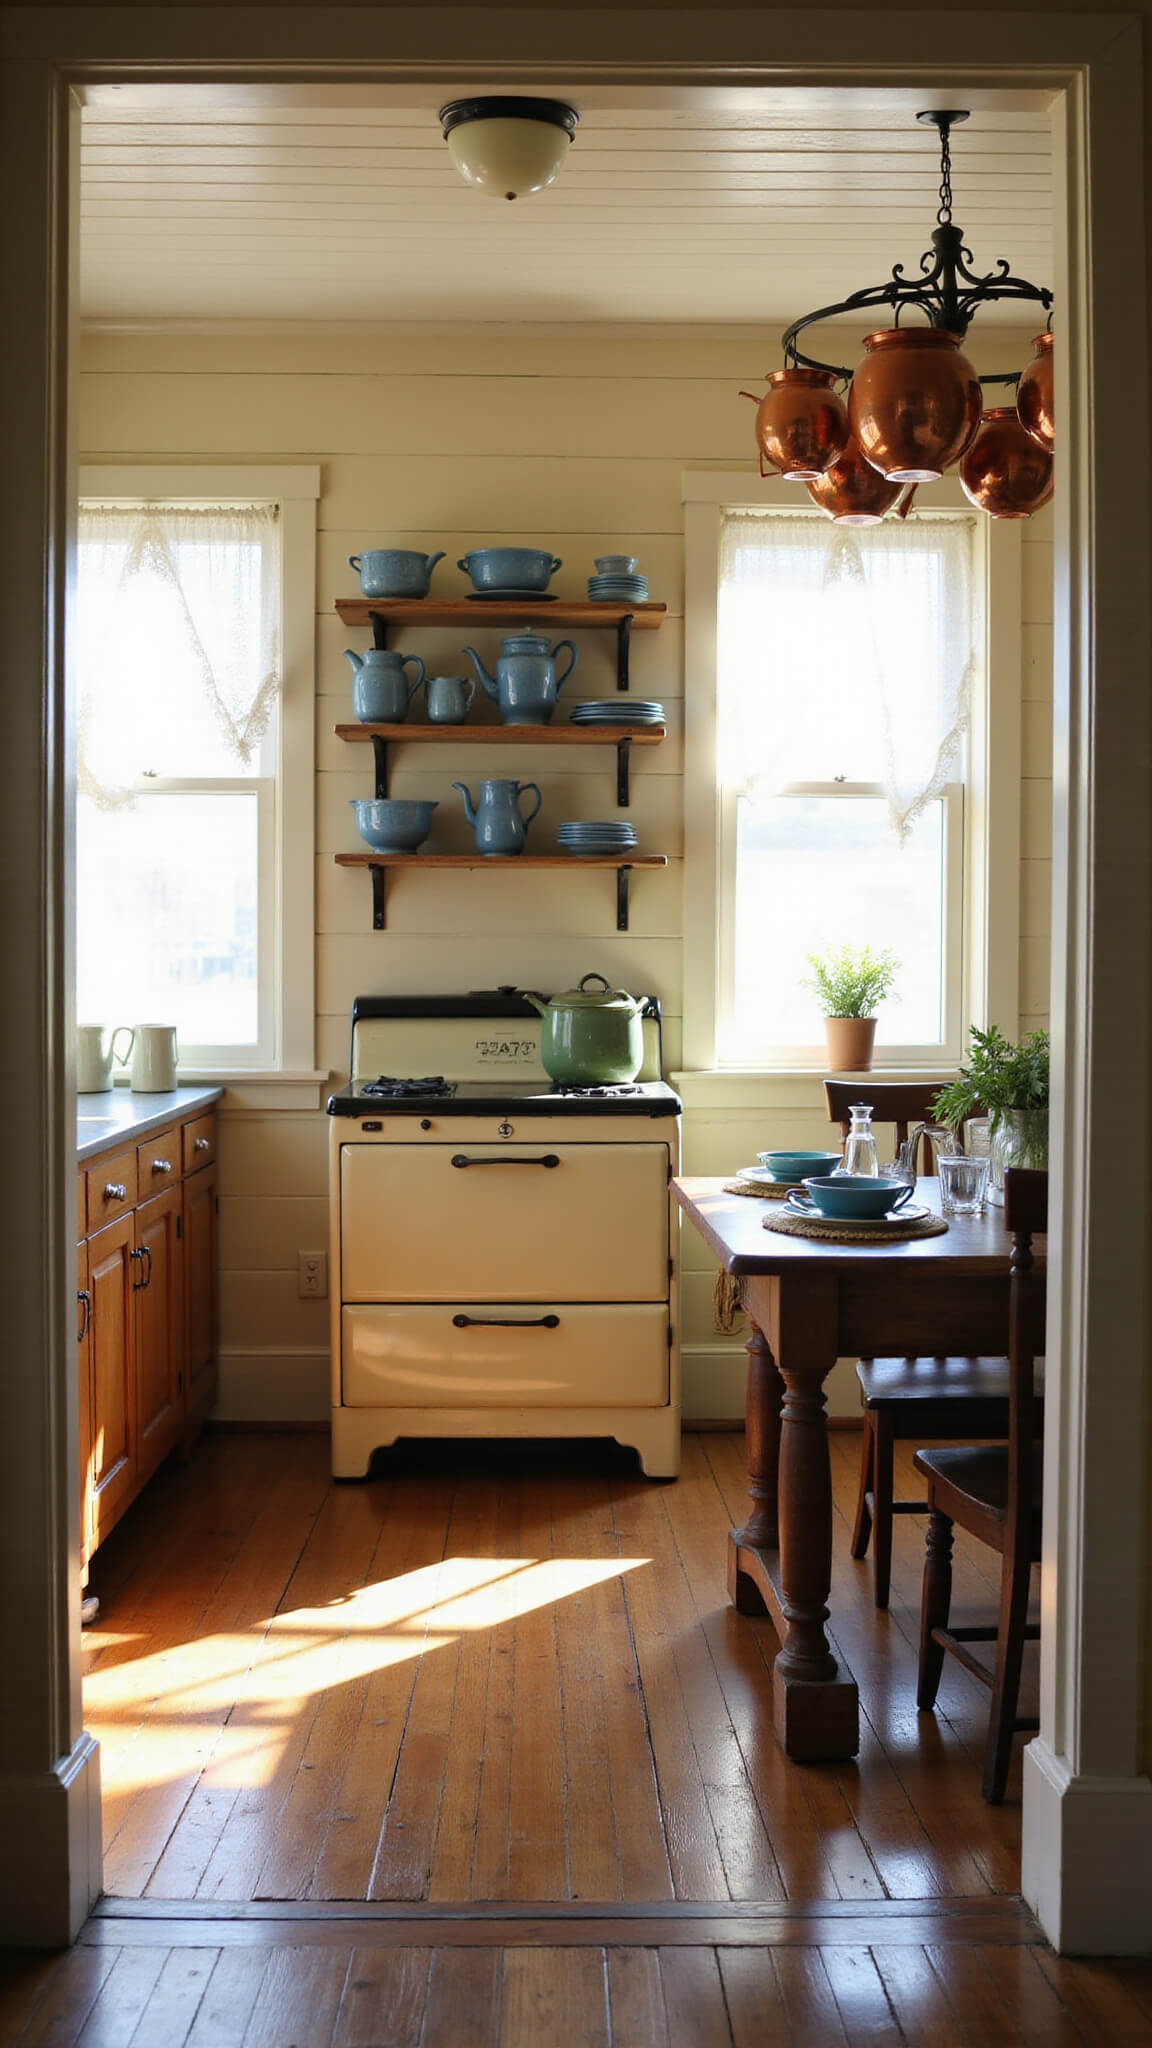
- Vintage appliances: Restored stove, retro fridge, antique mixer
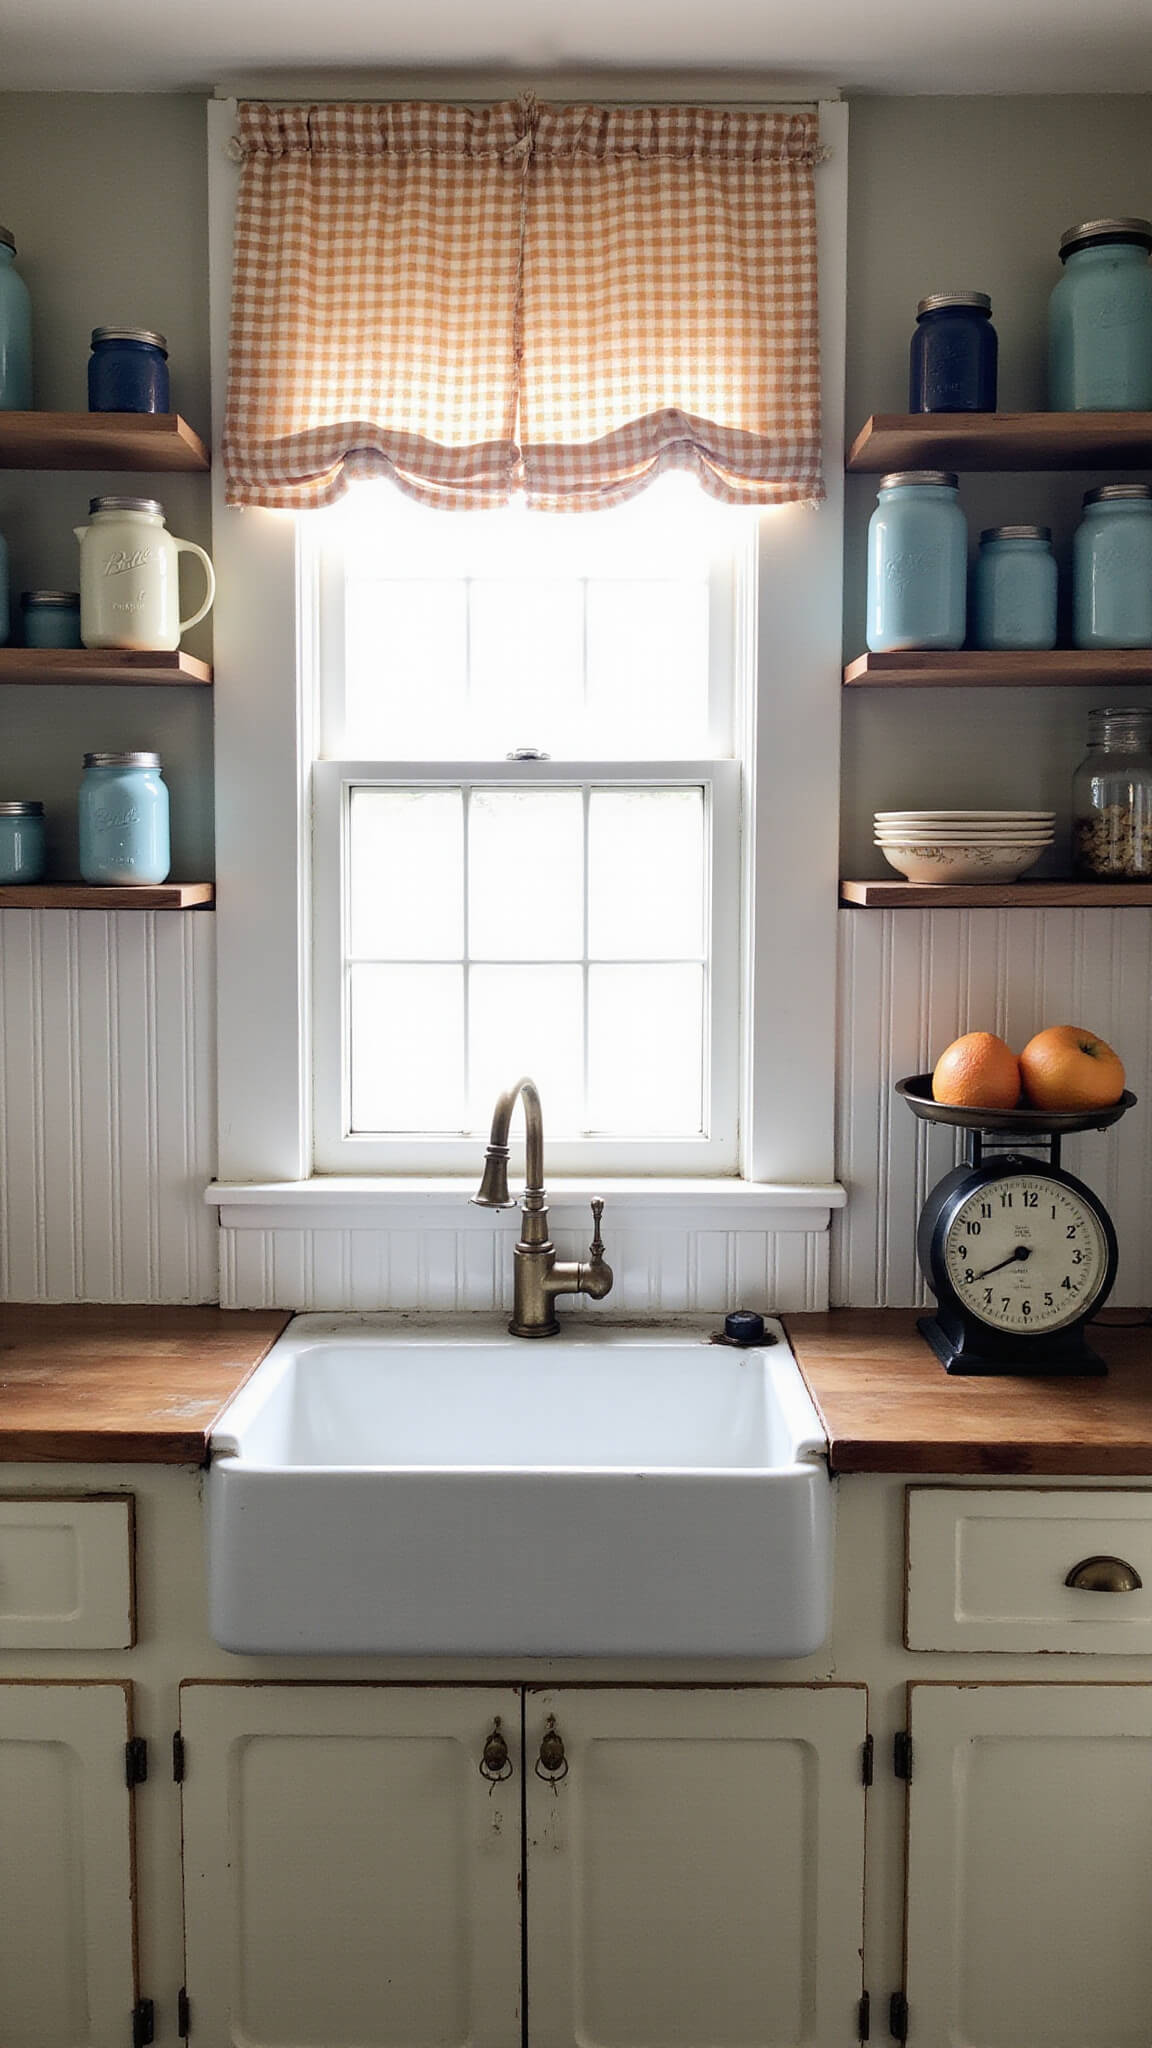
- Farmhouse sink: Apron front, porcelain or ceramic
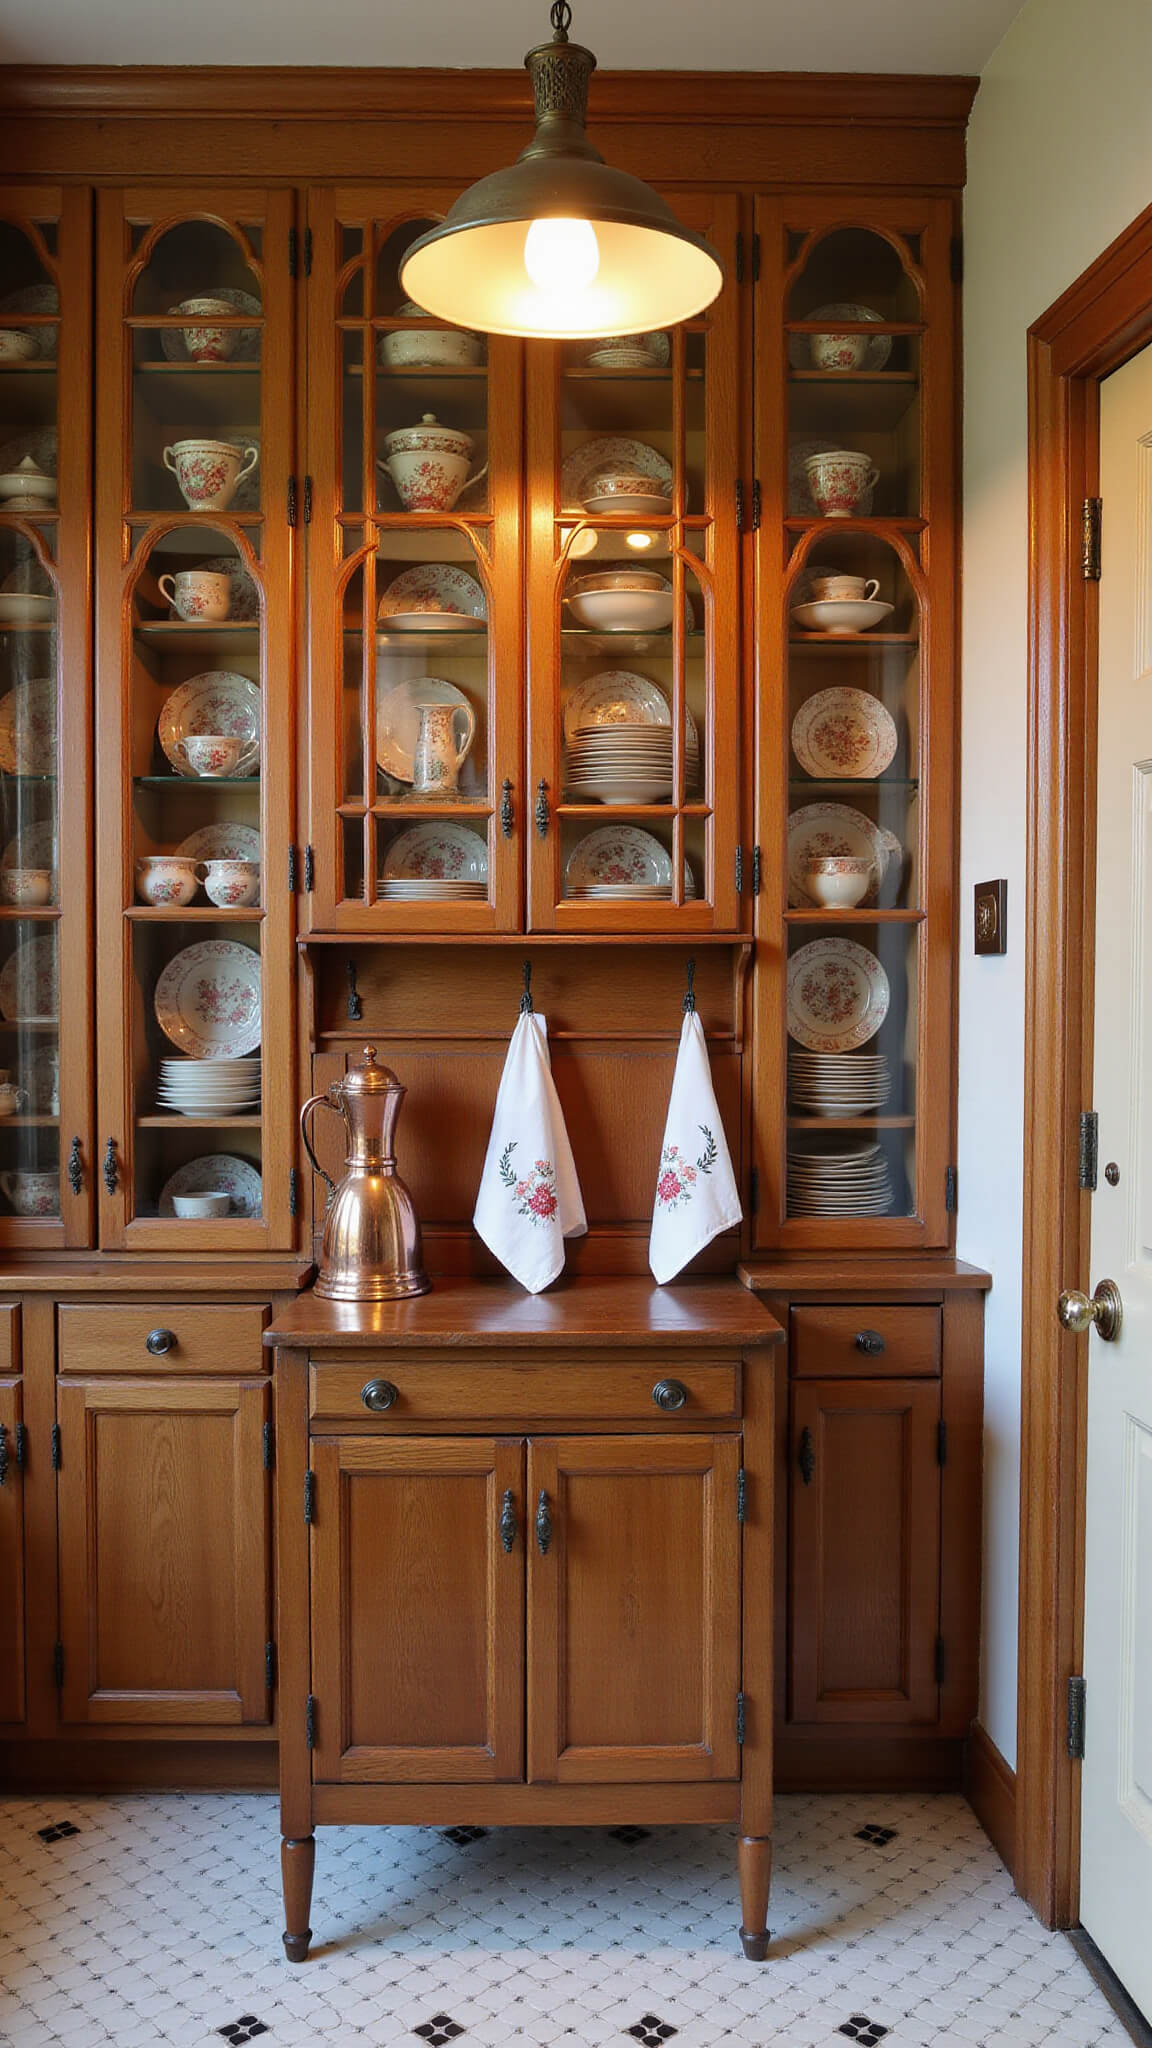
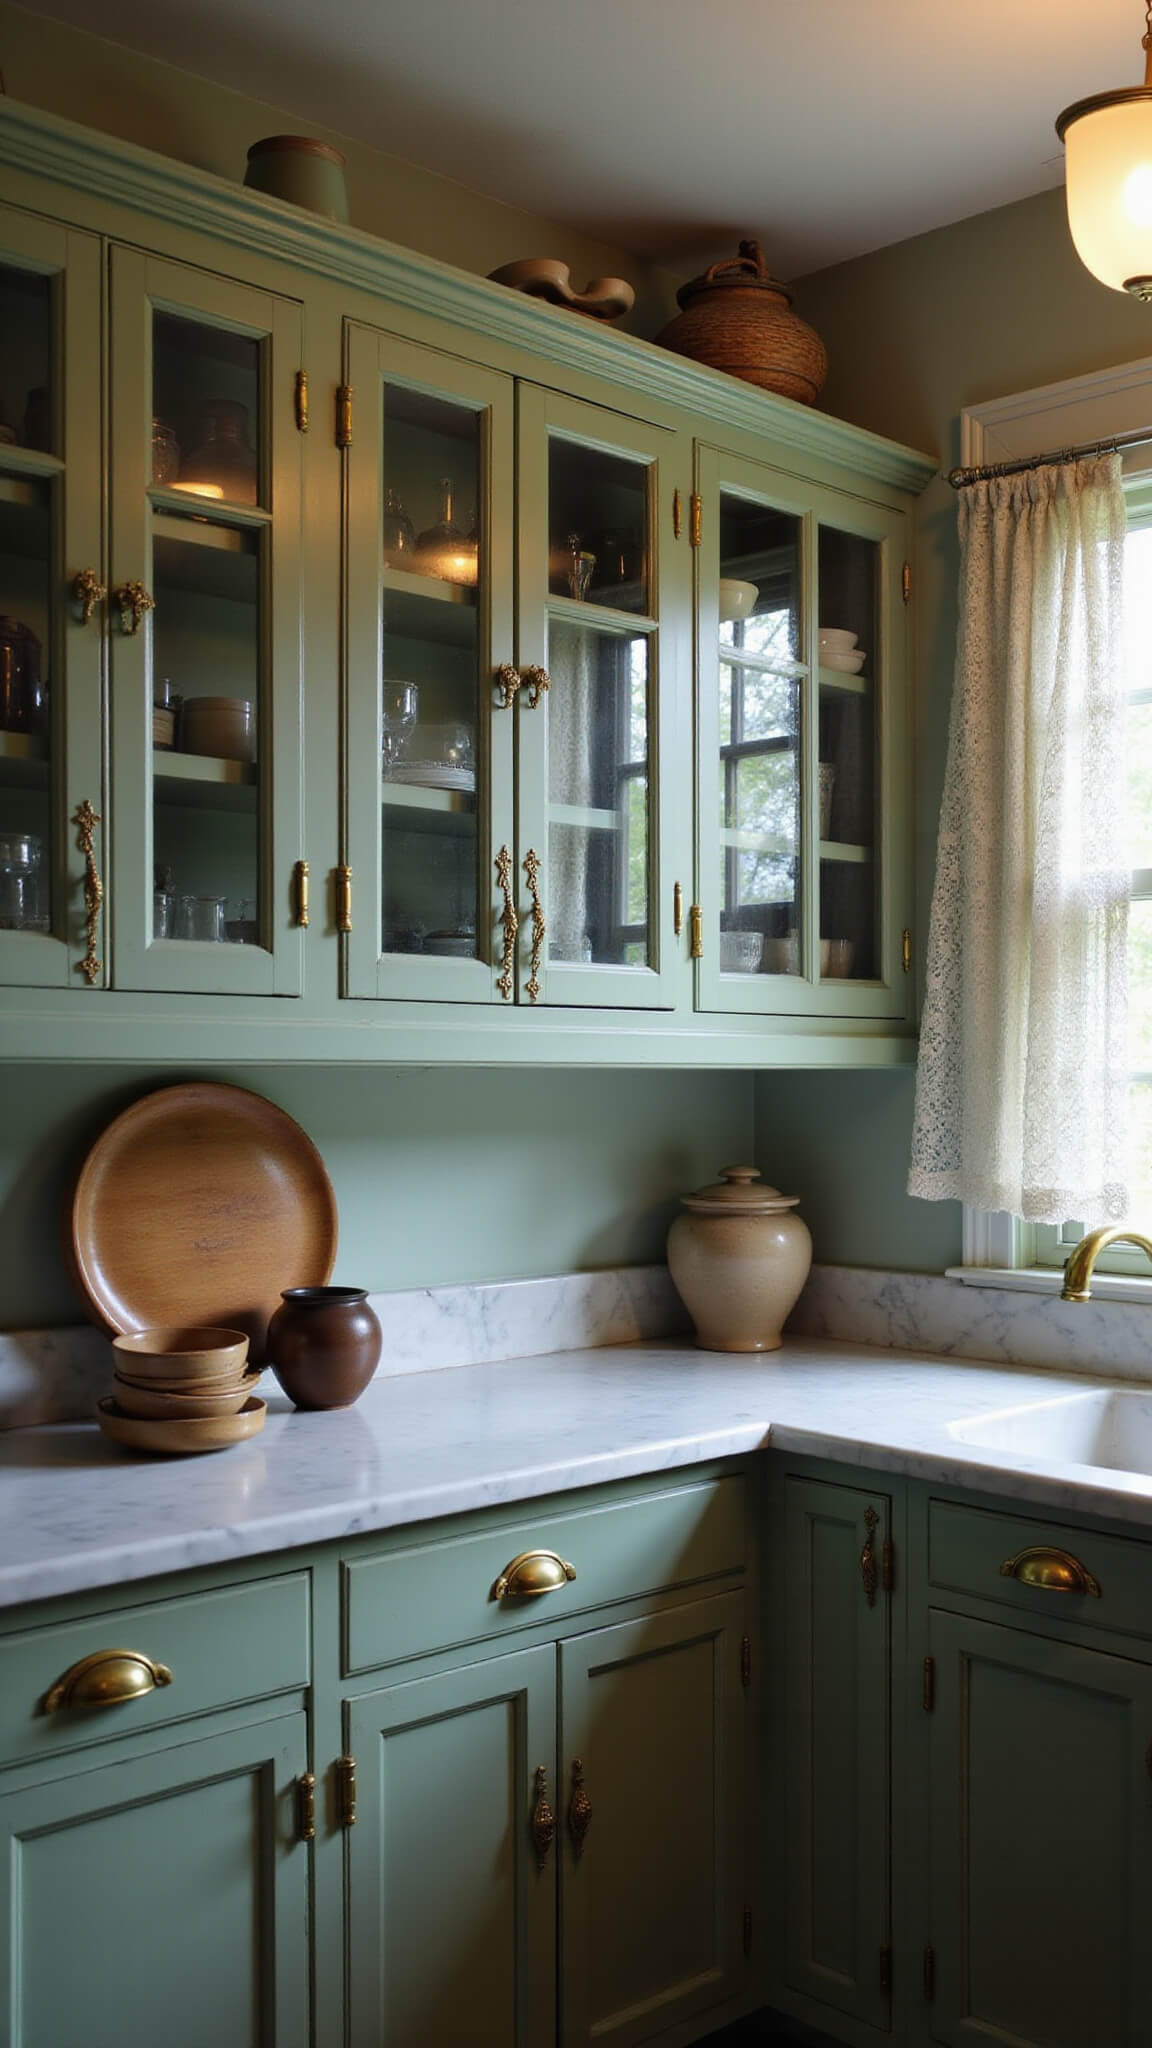
- Open shelving: Display ironstone, jadeite, or transferware
My Experience: I found my 1940s O’Keefe & Merritt stove at an estate sale for $200. It needed cleaning and minor repairs, but became the heart of my kitchen.
Supporting Elements
- Distressed wooden elements
- Vintage textiles
- Metalware like copper pots
- Glass containers like Ball jars
Background Elements
- Wall treatments: Beadboard, shiplap, wallpaper
- Flooring: Hex tiles, worn wood planks
- Cabinet hardware: Glass knobs, bin pulls
- Window treatments: Cafe curtains
Setting Up Your Antique Kitchen for Photography
- Clear modern clutter
- Arrange vignettes
- Layer textures
- Add life with fresh flowers or herbs
Photography Tips:
- Shoot during golden hour
- Use aperture priority mode
- Try various angles
- Edit for warmth, not perfection
DIY Projects to Enhance Your Antique Kitchen
- Aged cutting boards
- Open shelving installation
- Faux vintage signs
- Cabinet makeovers
My DIY Disaster: I tried aging a metal canister with salt and vinegar without researching properly. The resulting smell lingered for weeks!
Styling Secrets for Authentic Antique Kitchens
Texture Layering
- Wood: Raw, painted, distressed
- Metal: Galvanized, copper, brass
- Ceramics: Ironstone, stoneware
- Textiles: Linen, cotton, crochet
Color Coordination
- Base colors: Creamy whites, warm beiges
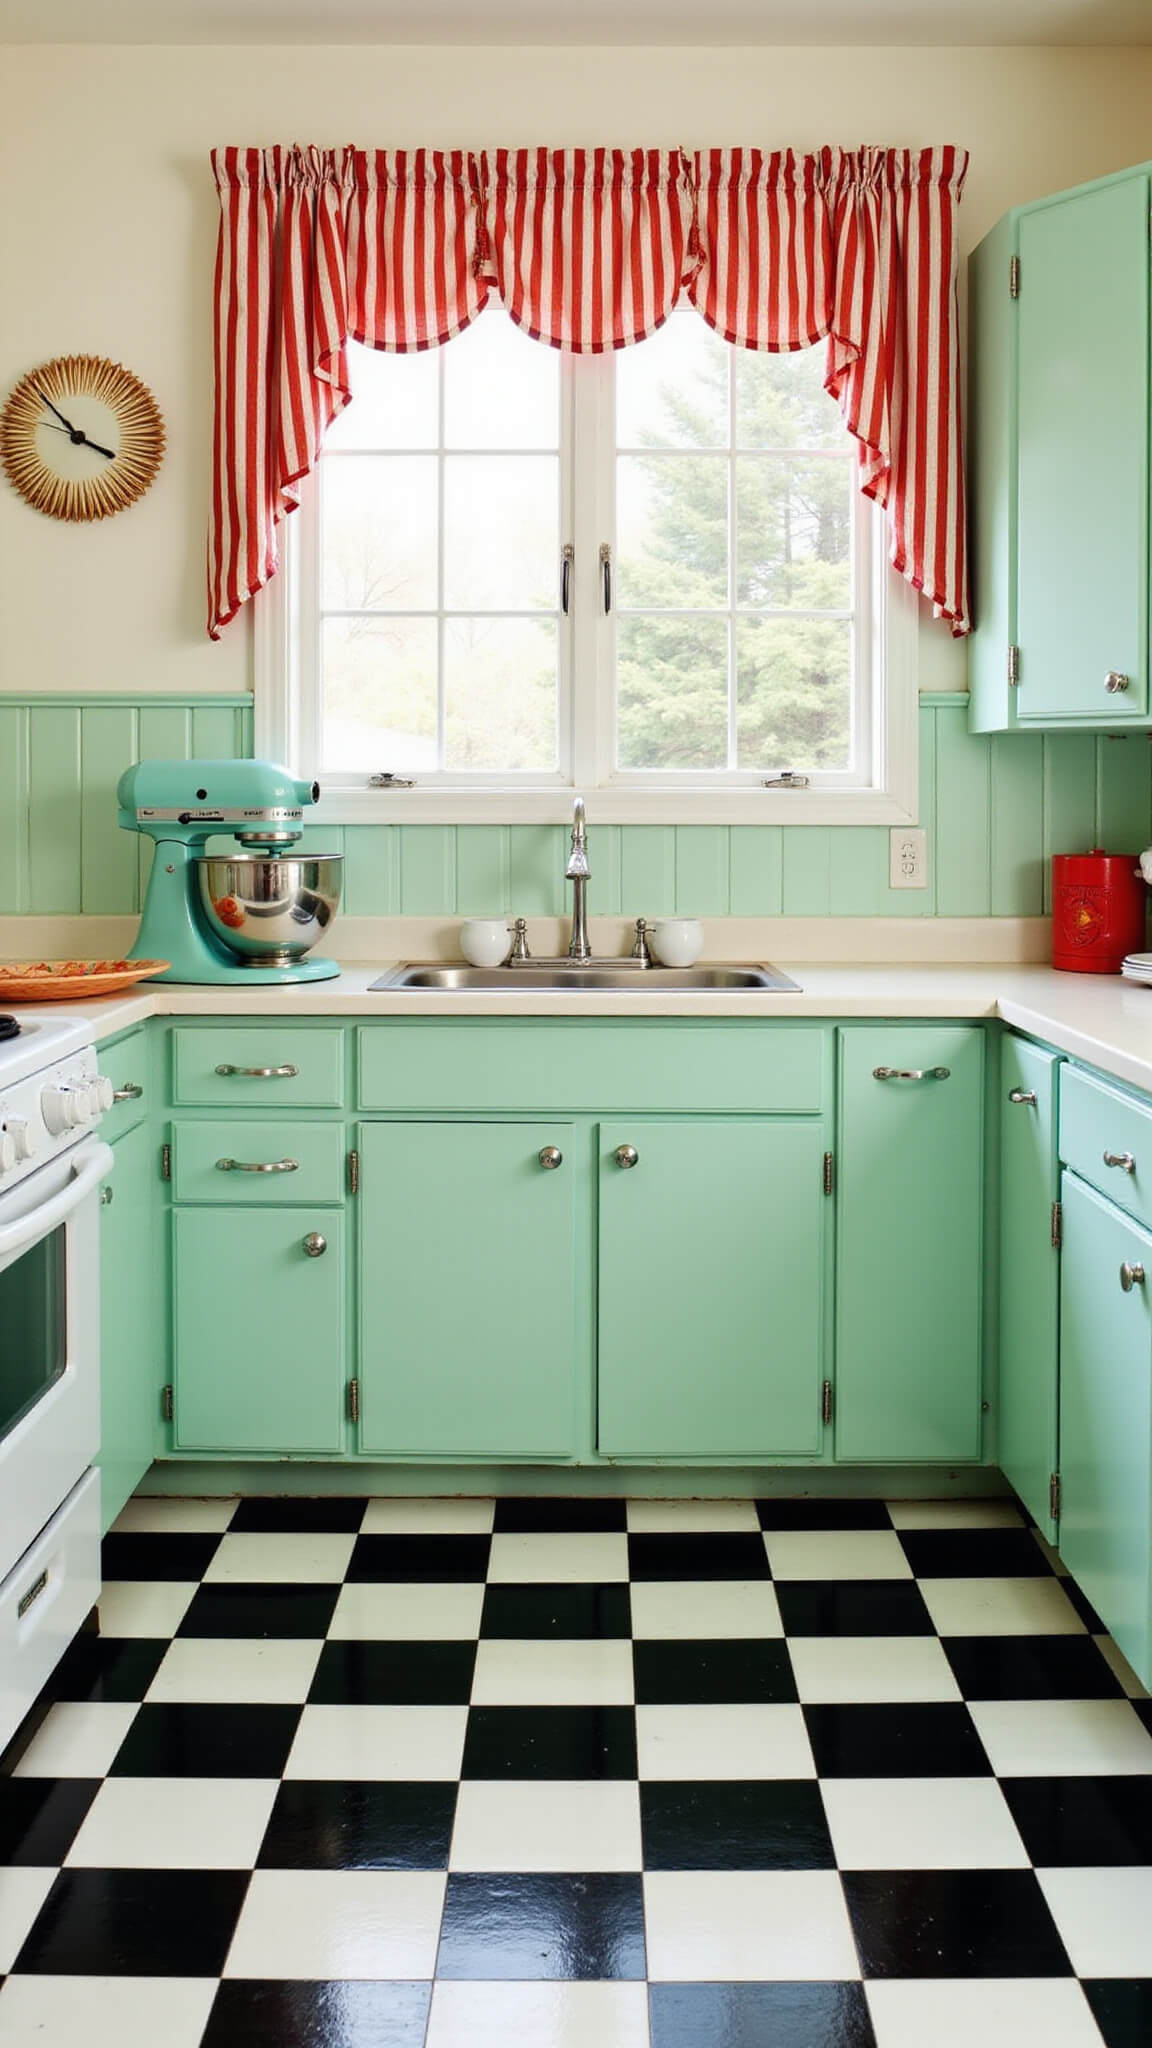
- Accent colors: Jadite green, robin’s egg blue
- Pops of brightness: Cherry red, cobalt blue
Pattern Mixing
- Stripes: Ticking fabric
- Florals: Cabbage roses
- Checks: Buffalo check, gingham
Common Mistakes to Avoid
- Going too perfect
- Mixing eras carelessly
- Forgetting function
- Overdoing it
Seasonal Updates for Your Antique Kitchen
Spring:
- Fresh herbs
- Framed seed packets
- Pastel dishware
Summer:
- Wildflowers in mason jars
- Vintage fans
- Blue and white textiles
Fall:
- Copper pots with hydrangeas
- Mini pumpkins on vintage scales
- Amber glassware
Winter:
- Evergreens in ironstone pitchers
- Vintage