Fall Mantel Magic: Creative Ways to Transform Your Fireplace for Autumn
Hey there! I’m absolutely thrilled to share my favorite fall mantel decorating ideas with you today. After years of experimenting with seasonal decor, I’ve learned a few tricks that’ll help transform your fireplace into the coziest autumn focal point ever.
Let me tell you – there’s something magical about switching up your mantel when the leaves start changing colors. It instantly makes your whole house feel ready for pumpkin spice season!

Getting Started: The Fall Mantel Basics
Time Needed:
- About 30-60 minutes for arranging and styling
- Another hour if you’re photographing your creation
- Total project time: 2-3 hours max
Supplies:
- Variety of pumpkins (real or faux)
- Fall foliage and branches
- Candles in various heights
- Harvest-themed items like gourds or corn husks
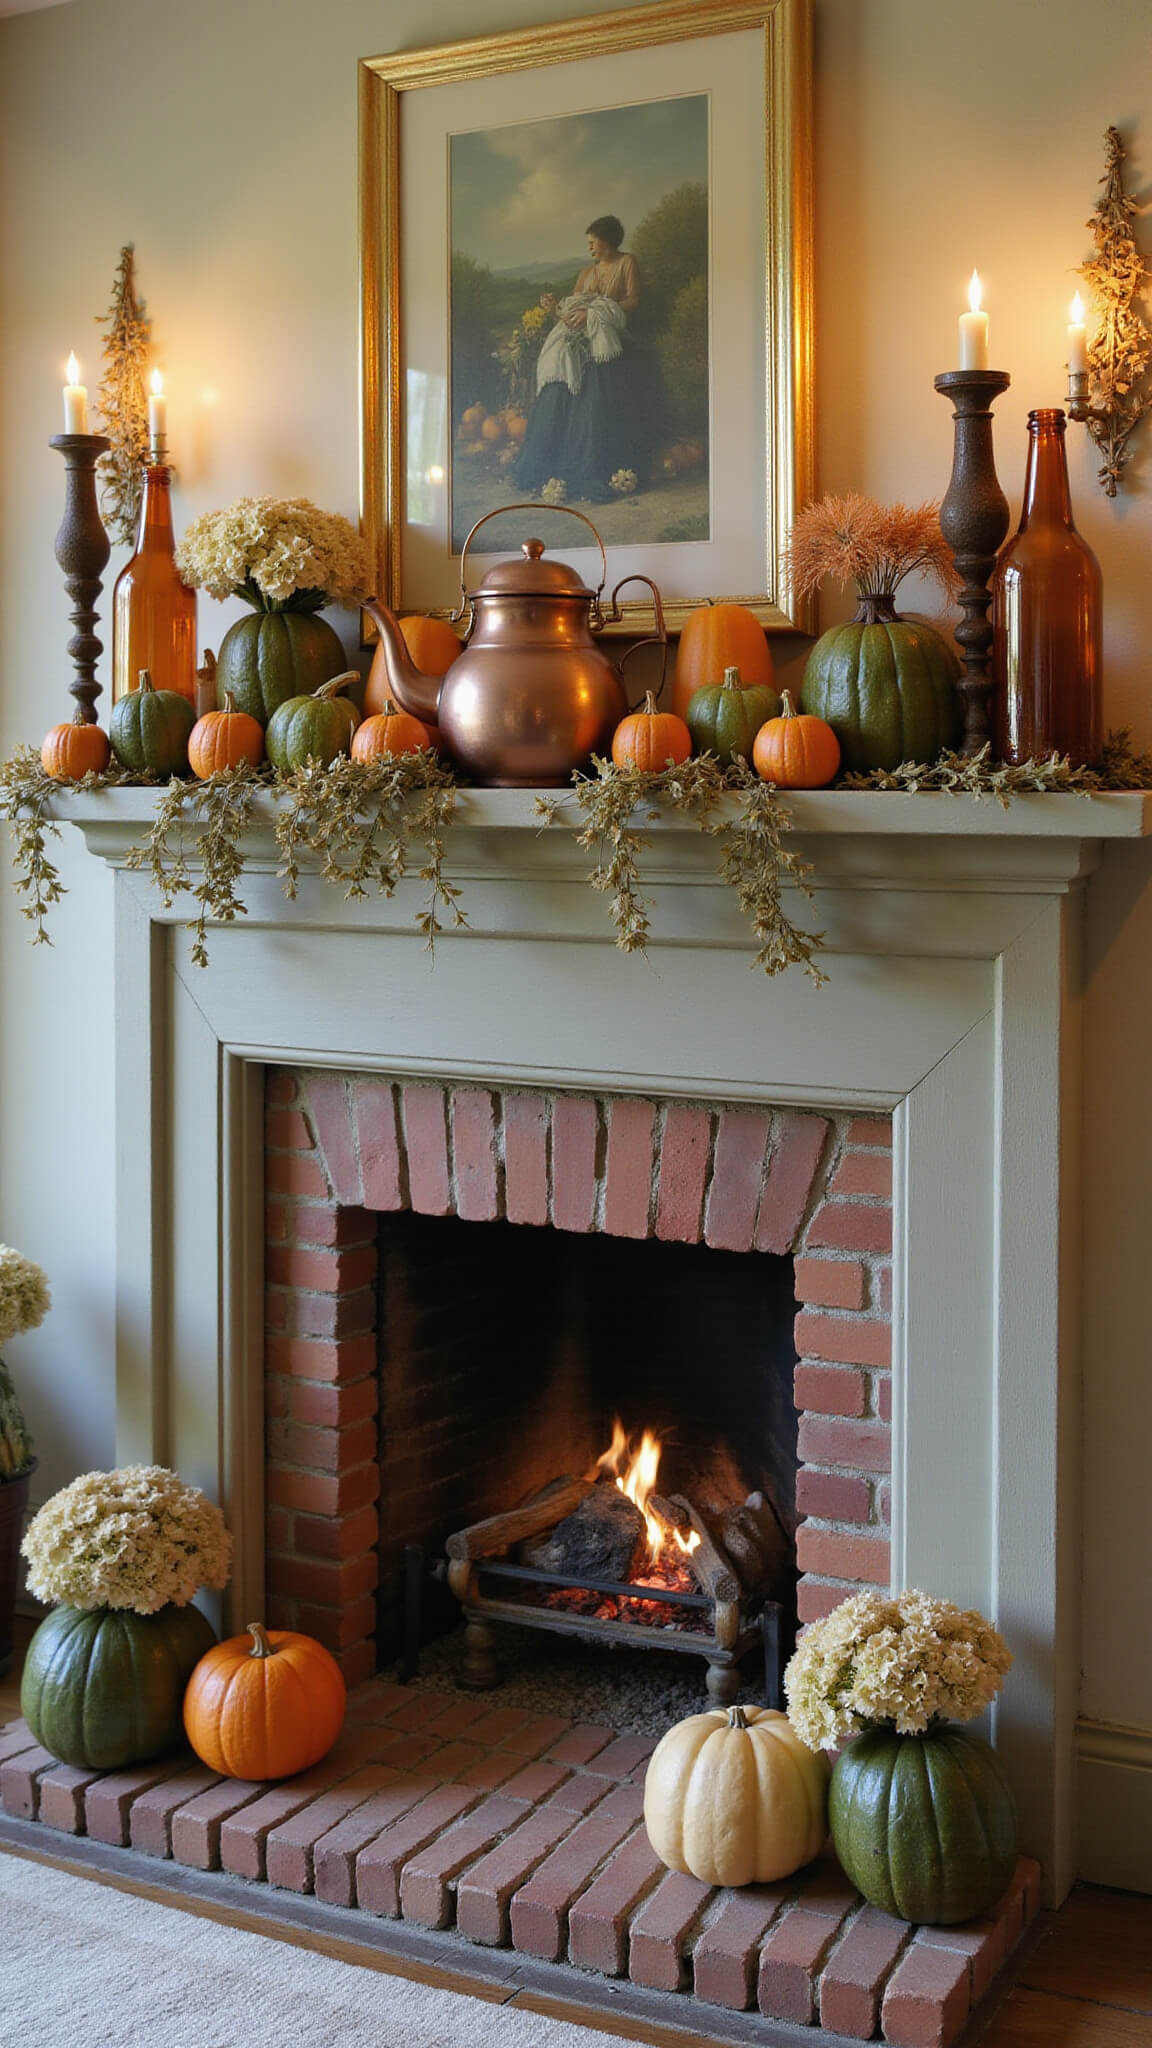
- Optional: vintage books, amber bottles, brass accents
Budget Range: You can spend anywhere from $20 to $100, depending on what you already have at home. I’ll share some budget-friendly tricks later!
Clear the Canvas: Prepping Your Mantel
Before adding a single pumpkin, you need to start with a clean slate.
I always begin by removing everything from my mantel and giving it a quick dust. It’s tempting to skip this step, but trust me – it makes a huge difference in how your final display looks.
Next, I step back and consider the wall above the mantel. Is there existing art that works with a fall theme? Should I switch it out temporarily? Sometimes I’ll replace my usual artwork with a simple wreath or a seasonal print.
Creating Your Fall Centerpiece
Every great mantel needs a focal point that draws the eye. For fall, I love using:
- A large statement pumpkin (white or unusual varieties look particularly striking)
- An autumn wreath hung above the mantel
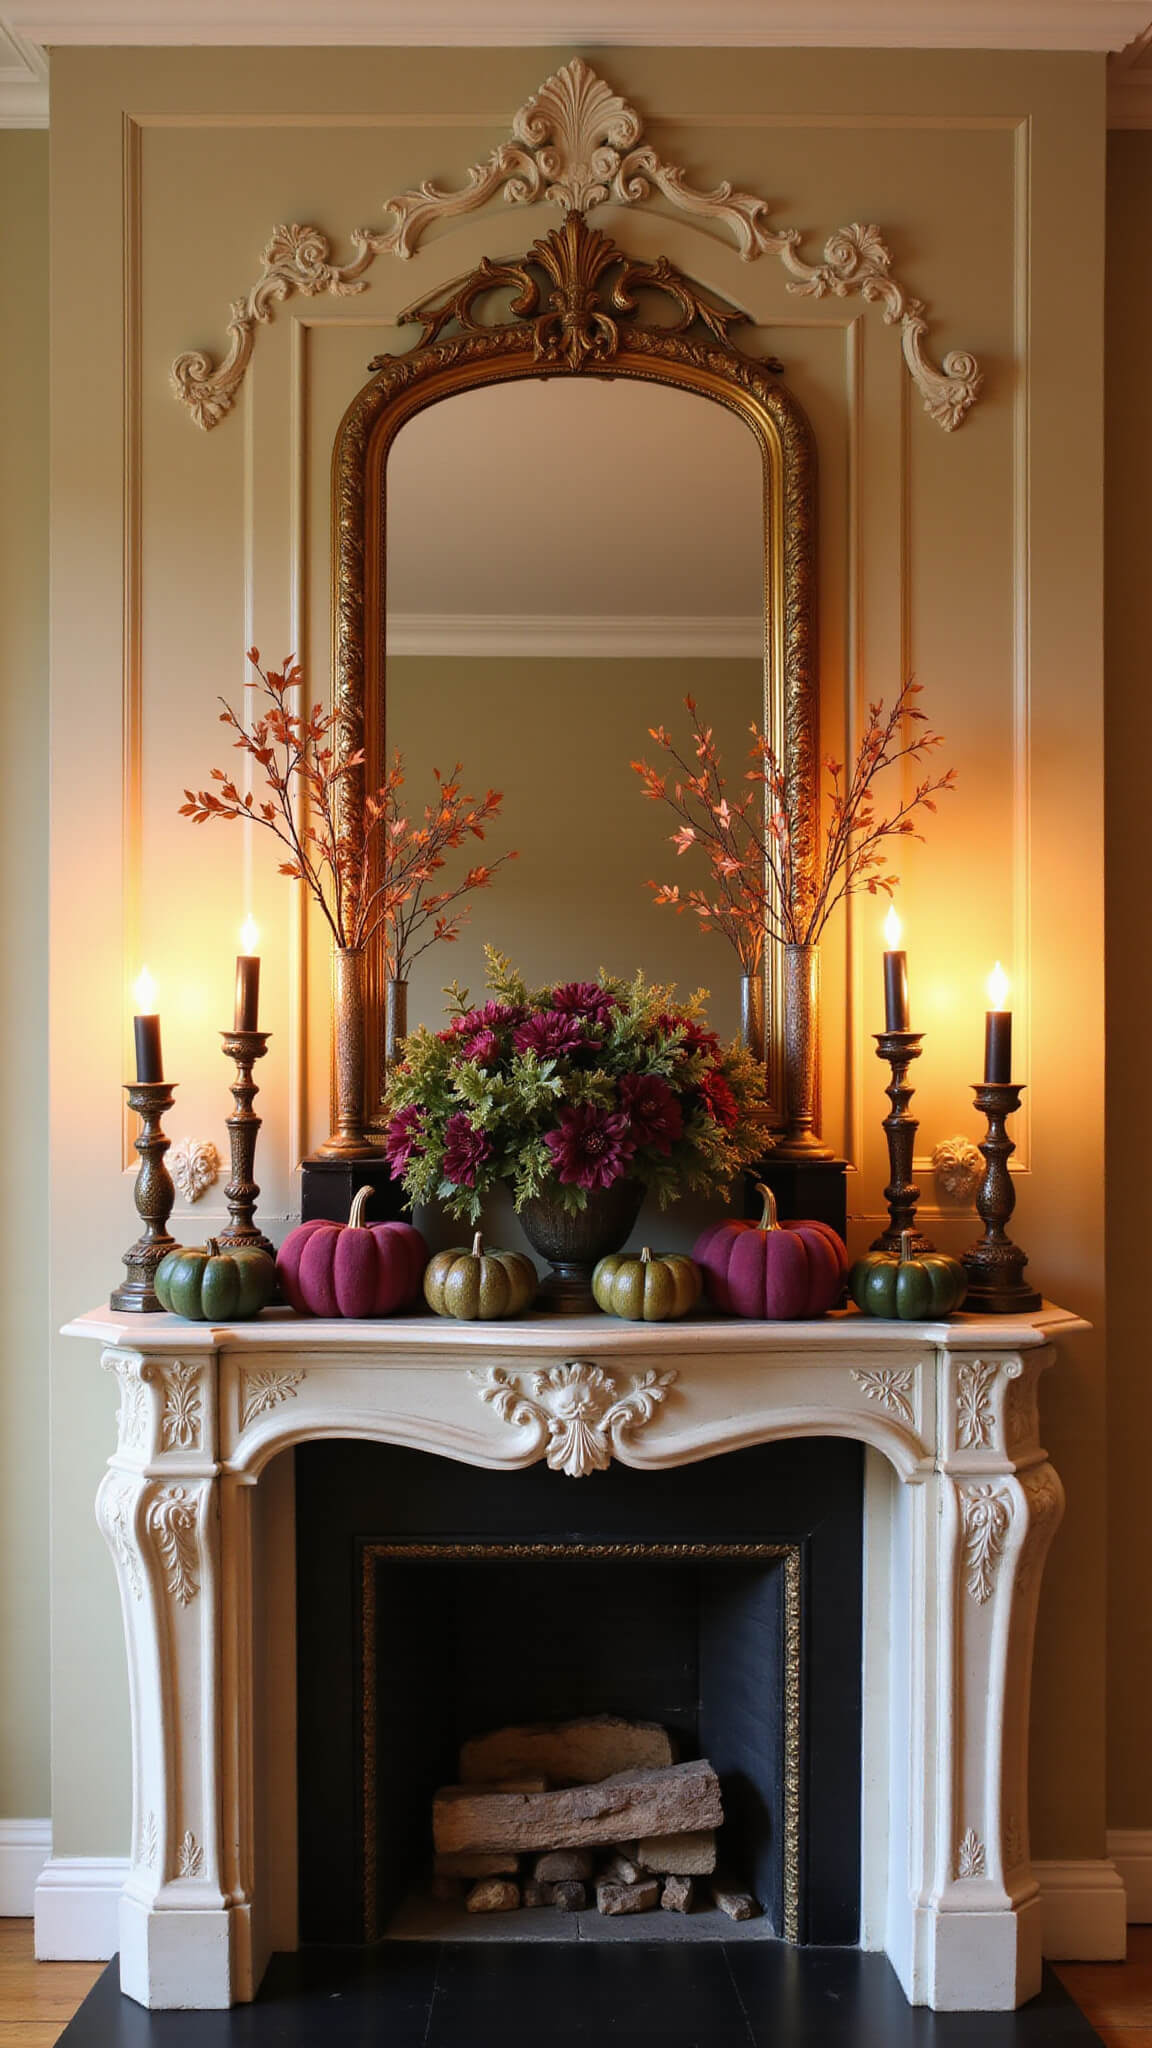
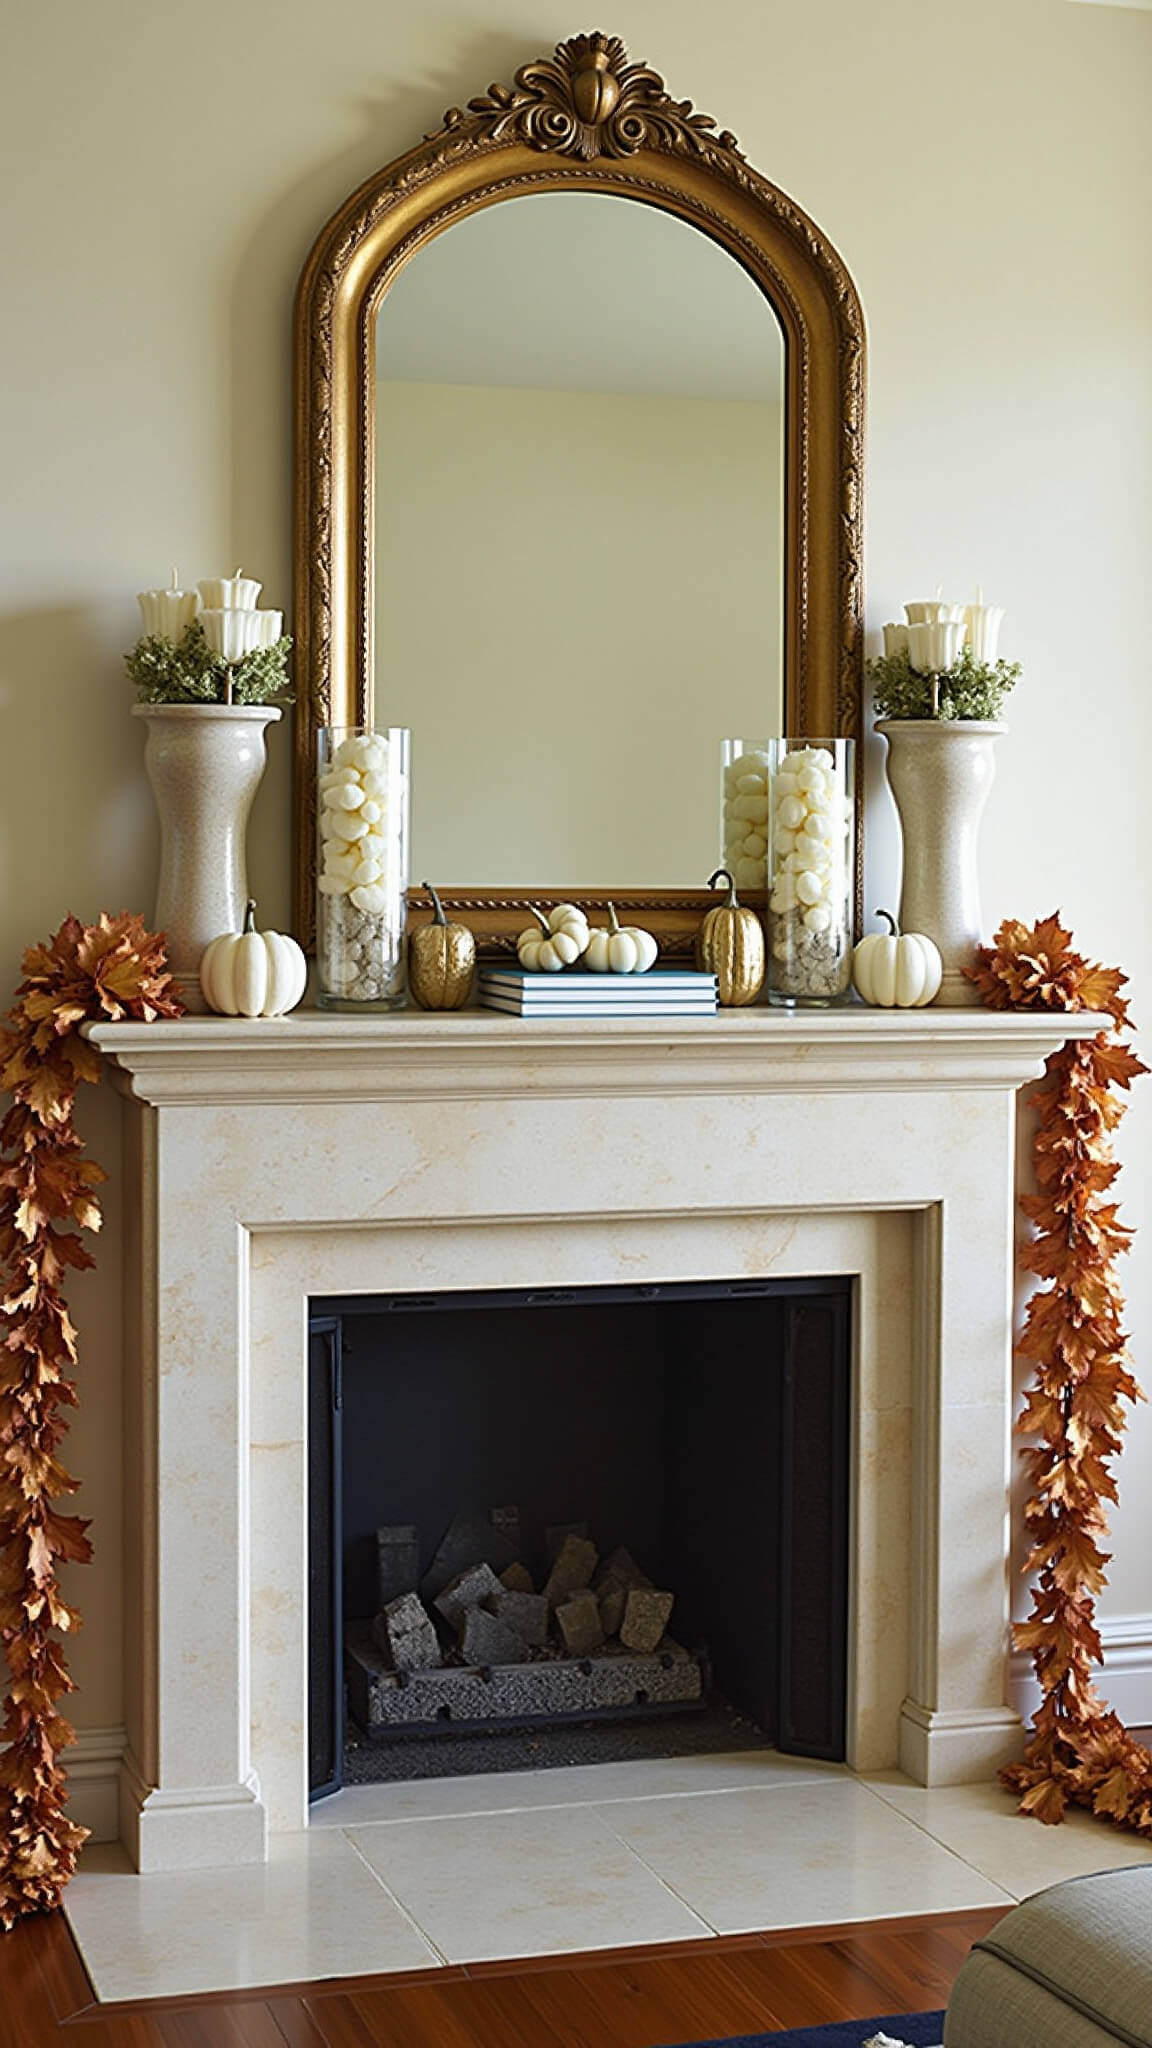
- A vintage mirror draped with fall garland
- A collection of varied-height candles in autumn hues
My personal favorite trick? Creating an asymmetrical arrangement with a larger element on one side, balanced by a collection of smaller items on the other side. This creates visual interest without looking too formal or stuffy.
Layering Textures: The Secret to a Professional Look
The most inviting fall mantels mix different textures to create depth. I’ve learned that combining at least 3-4 different textures makes the whole display feel rich and interesting.
Try mixing:
- Smooth ceramic pumpkins
- Rough natural elements like pinecones
- Soft fabric like burlap or velvet
- Shiny metallics like brass candlesticks
- Natural wood elements
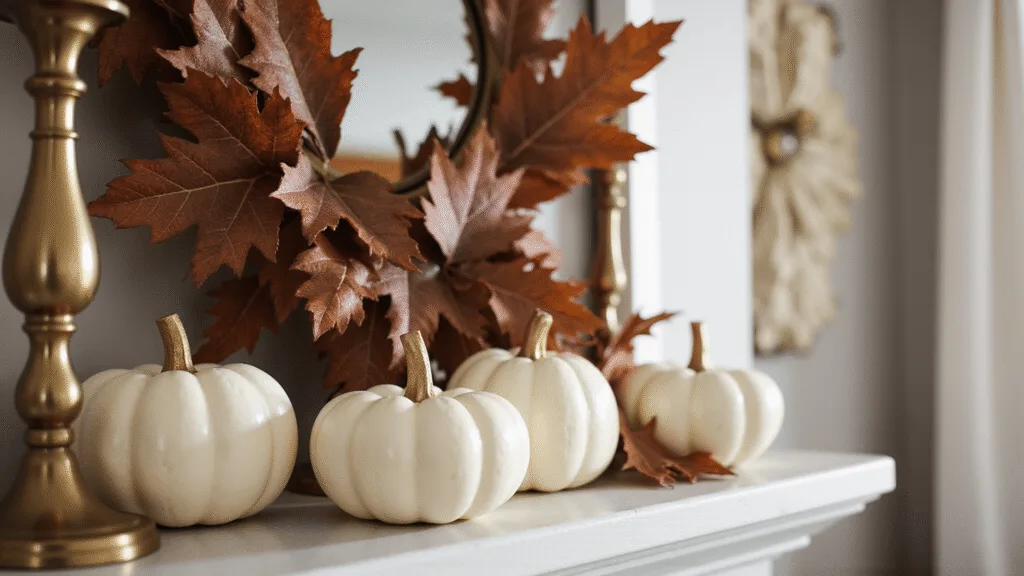
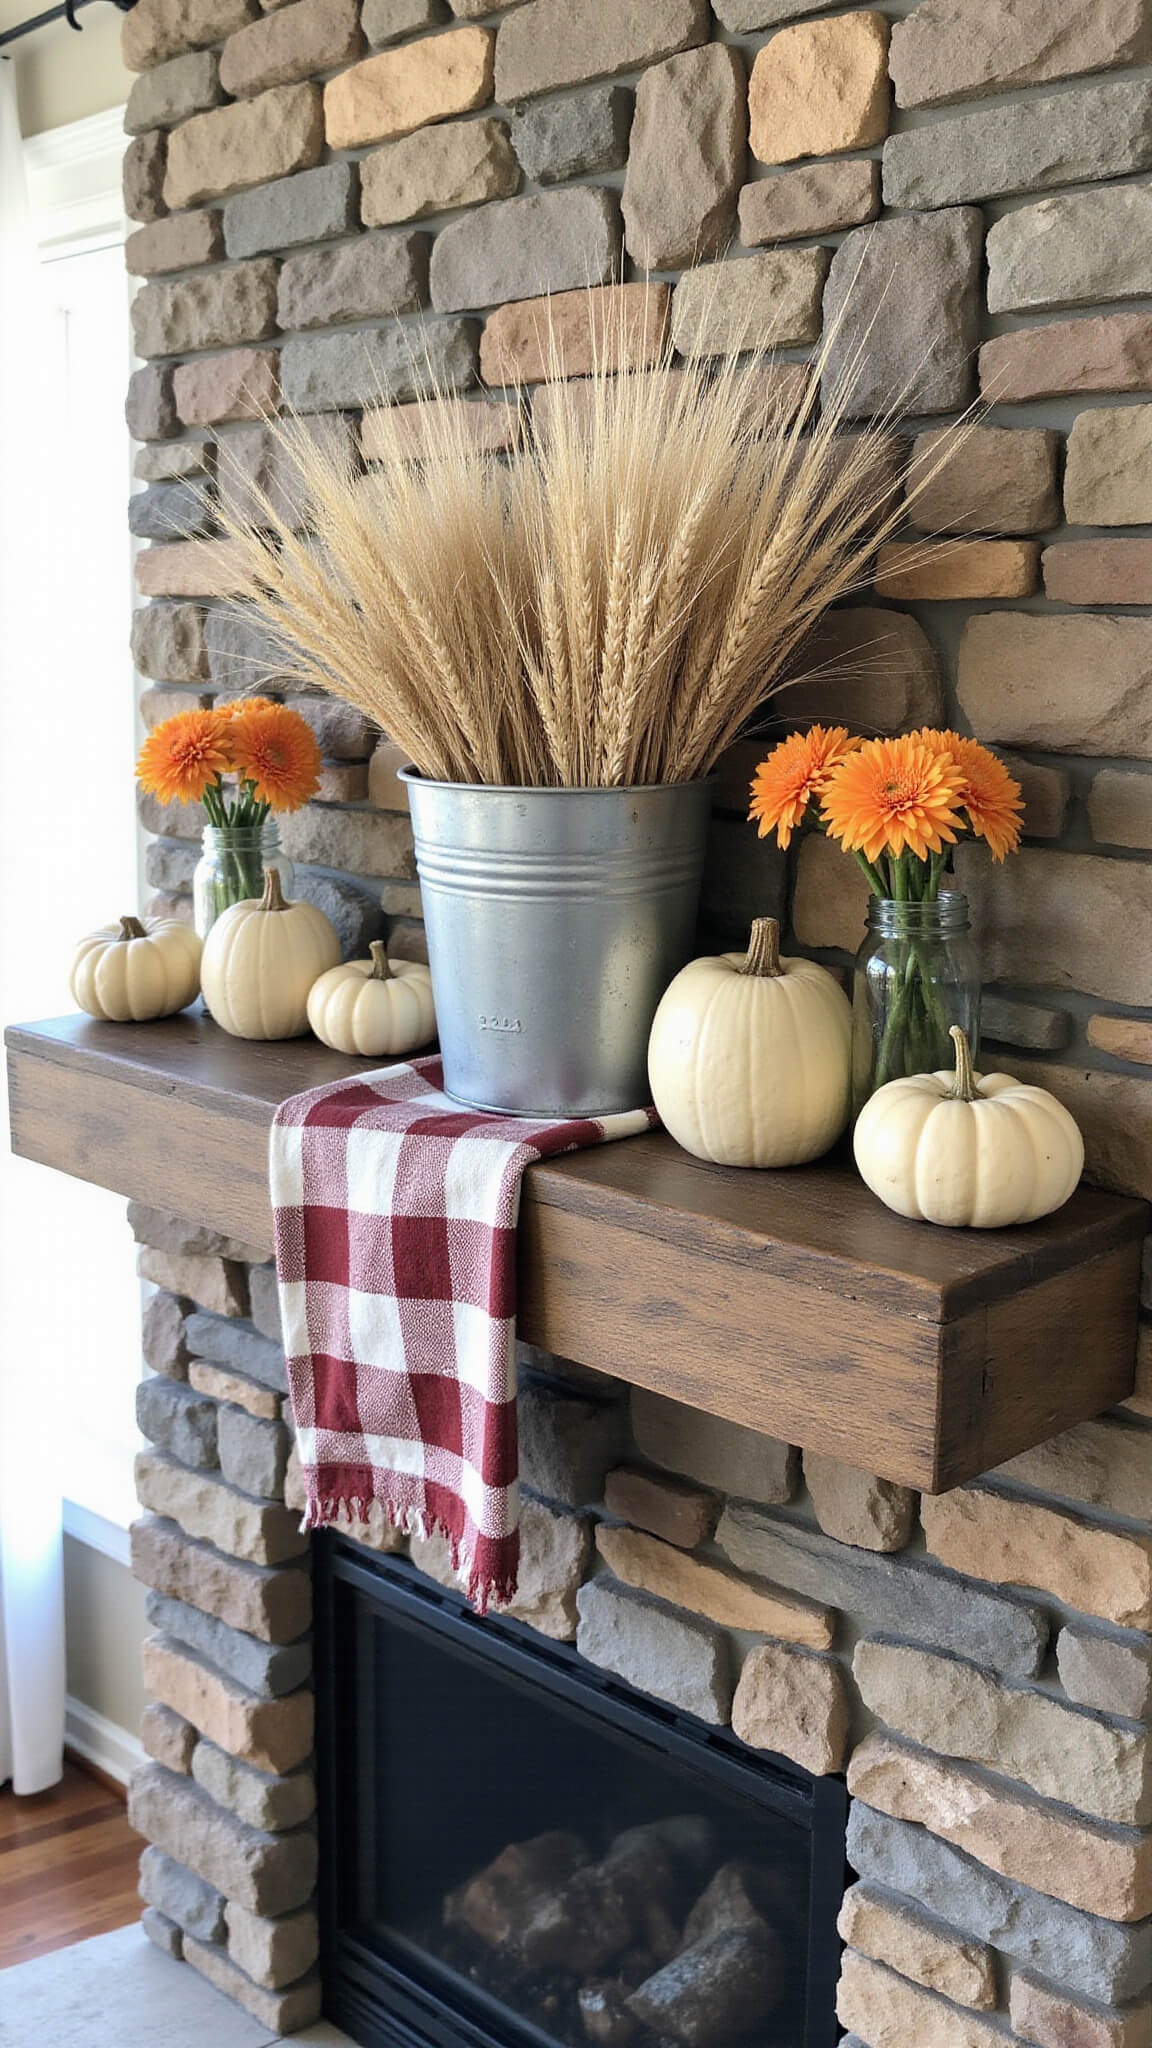
Last year, I placed a row of smooth white ceramic pumpkins against a backdrop of rough twigs and dried leaves. The contrast was gorgeous, especially with a few brass candlesticks mixed in!
Playing With Height and Scale
Nothing looks more awkward than a mantel where everything is the same height. I like to create what decorators call a “visual triangle” with elements of different heights.
For a traditional mantel:
- Place taller items at the ends or center
- Add medium-height items next
- Fill in with smaller accessories
For a modern look:
- Group items in odd-numbered clusters (3 or 5 pieces)
- Vary heights dramatically within each grouping
- Leave some empty space for a cleaner look

Color Theory: Creating a Cohesive Fall Palette
You don’t need to use every fall color in your display. Actually, limiting your palette makes for a more sophisticated look.
Traditional Fall Palette:
- Burnt orange
- Deep red
- Golden yellow
- Forest green
- Brown
Modern Fall Palette:
- Cream
- Sage green
- Terracotta
- Muted purple
- Copper
I personally love working with a more neutral base (whites, creams, and natural wood tones) and adding just a few pops of traditional fall colors through small accessories or flowers.
Budget-Friendly Fall Mantel Ideas
You don’t need to break the bank for a beautiful fall mantel! Some of my favorite money-saving tricks:
- Shop your yard: Collect colorful leaves, pinecones, and branches for free natural elements
- Repurpose grocery store pumpkins: Small pie pumpkins make great decor and can be cooked later!
- Transform dollar store finds: Spray paint inexpensive items in coordinating colors
- Shop end-of-season sales: Stock up after Thanksgiving for next year
- Invest in a few quality “forever pieces”: Buy one nice artificial pumpkin each year to build your collection
Last fall, I created my entire mantel display for under $30 by using branches from my backyard, three small white pumpkins from the grocery store, and candles I already owned.
Photography Tips: Capturing Your Fall Mantel
If you want to share your creation on social media or just preserve the memory, here are my top photography tips:
- Shoot during “golden hour” (early morning or late afternoon) when light is soft
- Turn off overhead lights and use natural window light when possible
- Take photos from multiple angles – straight on, from the sides, and detail shots
- Style the surrounding area a bit too – maybe add a cozy throw on a nearby chair
- Consider the rule of thirds when composing your shot