The Art of Nordic Kitchen Styling – Creating a Scandinavian Haven in Your Home
Ever stared at your kitchen and thought “this place needs a makeover but I don’t know where to start”? I’ve been there too. And let me tell you, embracing Nordic kitchen styling transformed not just my cooking space, but my entire approach to home design.
Nordic kitchen styling isn’t just trendy – it’s timeless, functional, and surprisingly achievable even on a modest budget. After spending years perfecting this aesthetic in my own home (and making plenty of mistakes along the way), I’m excited to share my complete guide to creating your own Scandinavian kitchen haven.
What Makes a Kitchen Truly Nordic?
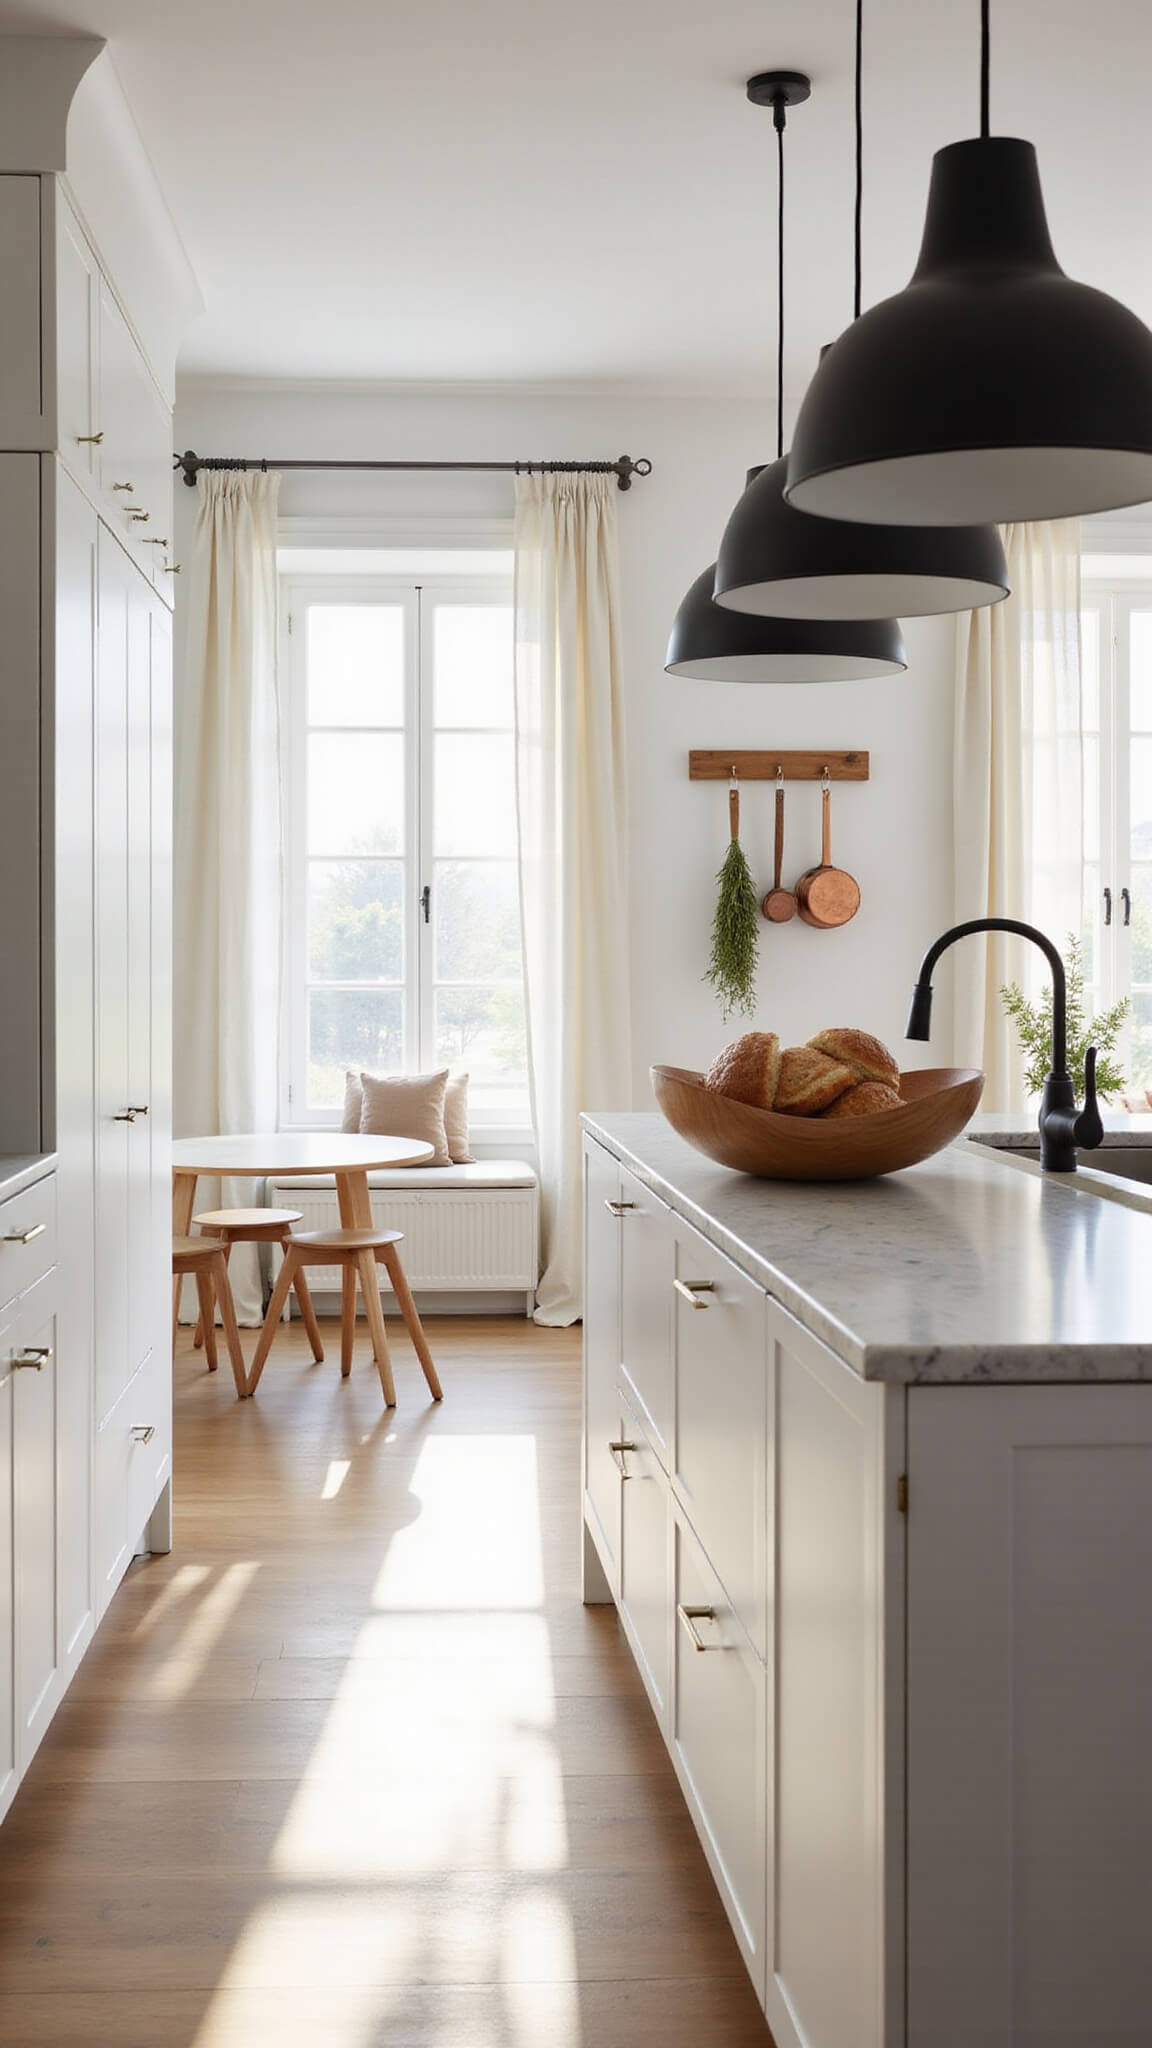
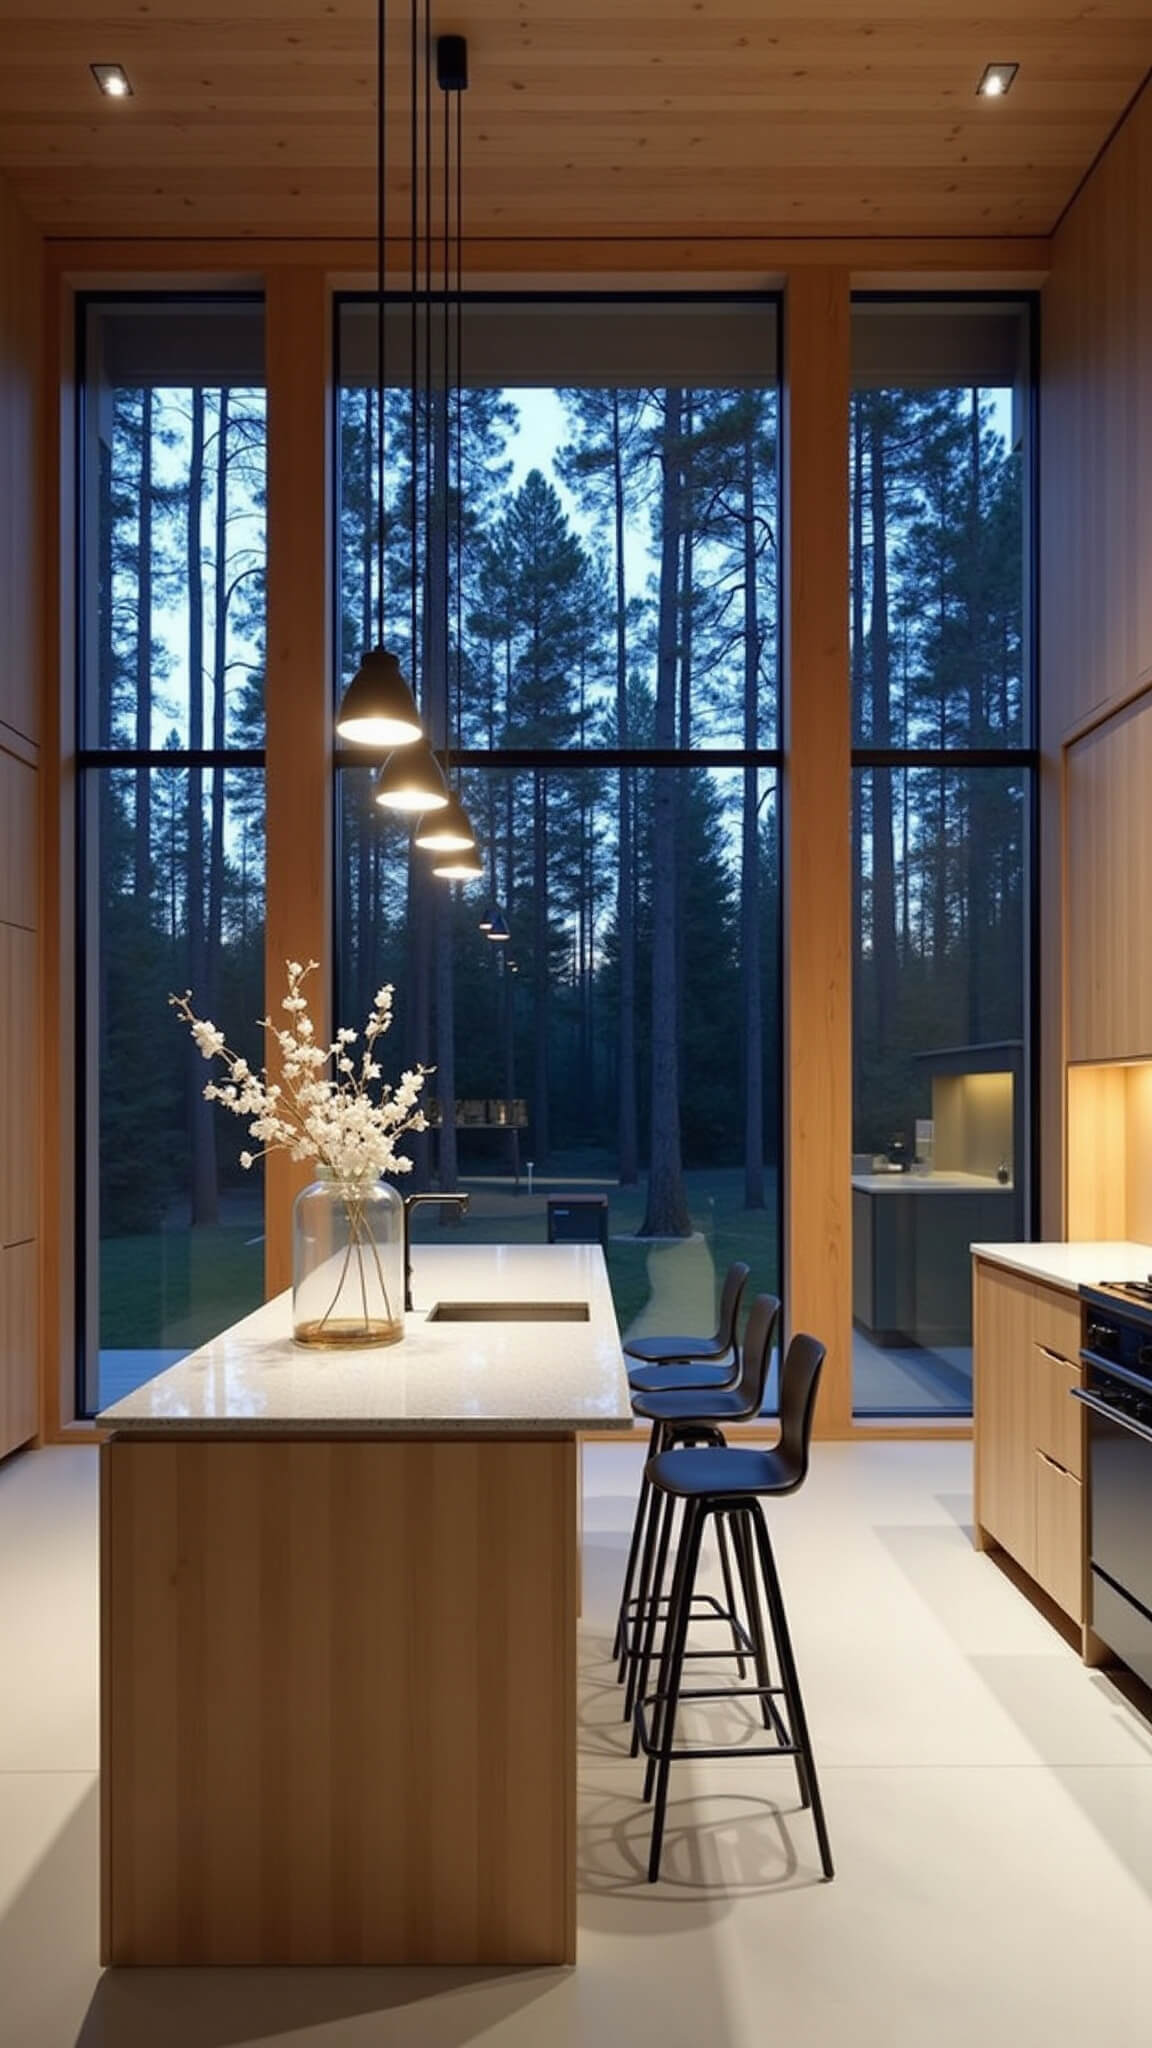
The essence of Nordic kitchen styling lies in its simplicity. Think clean lines, natural materials, and a soothing color palette that makes you want to linger over your morning coffee.
In my experience, authentic Nordic kitchens share these key characteristics:
- Minimalist approach – less is definitely more
- Natural materials – especially wood in varying tones
- Neutral color scheme – whites, beiges, and soft grays
- Functional beauty – every item serves a purpose
- Thoughtful accents – small pops of green or blue through plants or ceramics
I remember walking into my friend’s newly renovated Stockholm apartment and being struck by how calm her kitchen felt. Nothing was excessive, yet nothing felt missing either. That perfect balance is what we’re aiming for.

Essential Tools for Your Nordic Kitchen Styling Project
Photography Equipment
If you’re planning to document your Nordic kitchen transformation (and you should!), you’ll need:
- A decent camera or smartphone (minimum 12MP)
- Natural lighting or basic LED lighting
- A tripod for steady shots
- Basic editing software like Adobe Lightroom or even free alternatives
I’ve found that early morning light works wonders for kitchen photography. The soft, diffused glow through my east-facing windows creates that dreamy Scandinavian ambiance that’s hard to replicate artificially.
Styling Props
The right props make all the difference between an authentic Nordic kitchen and a generic minimalist space:
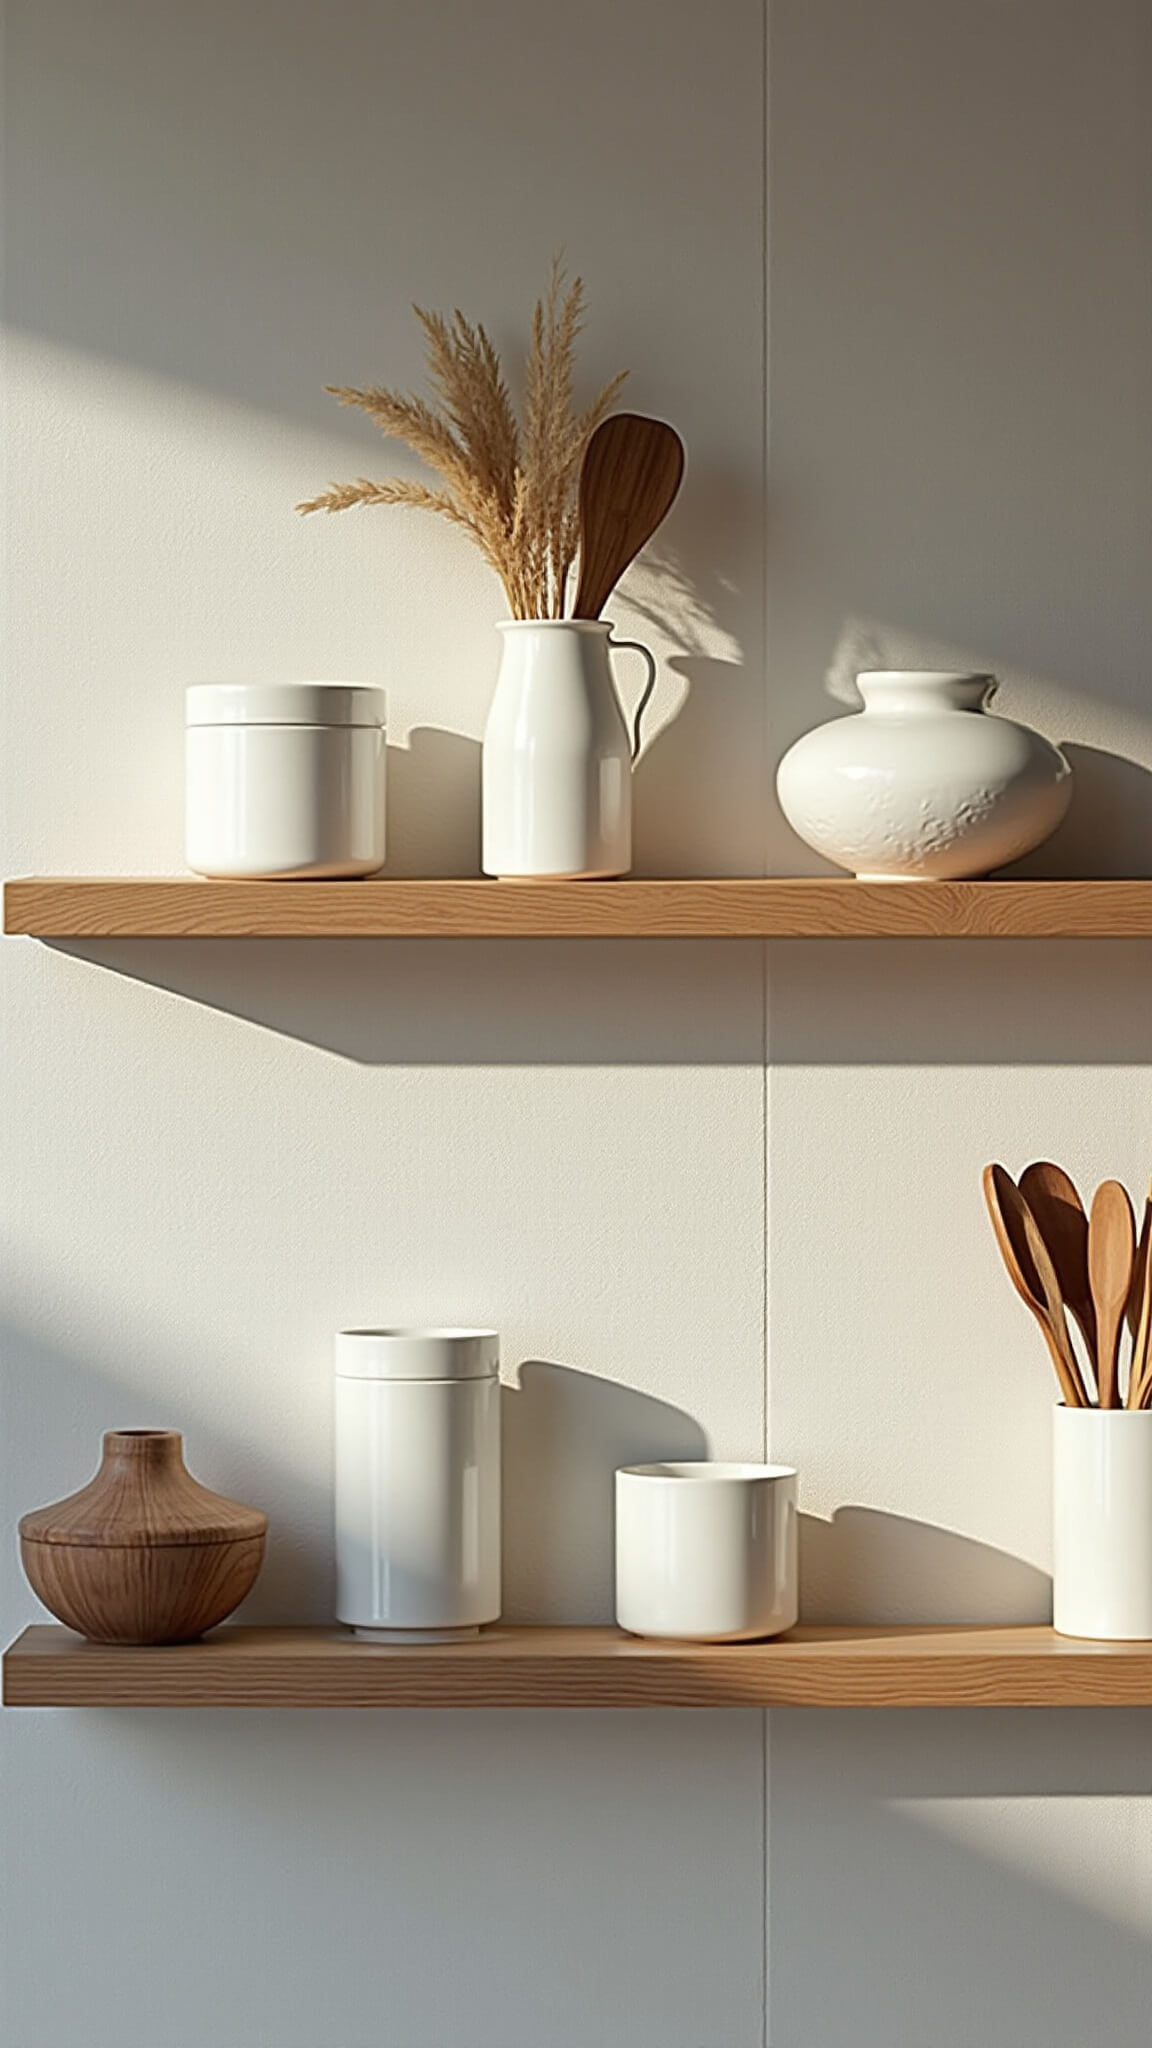
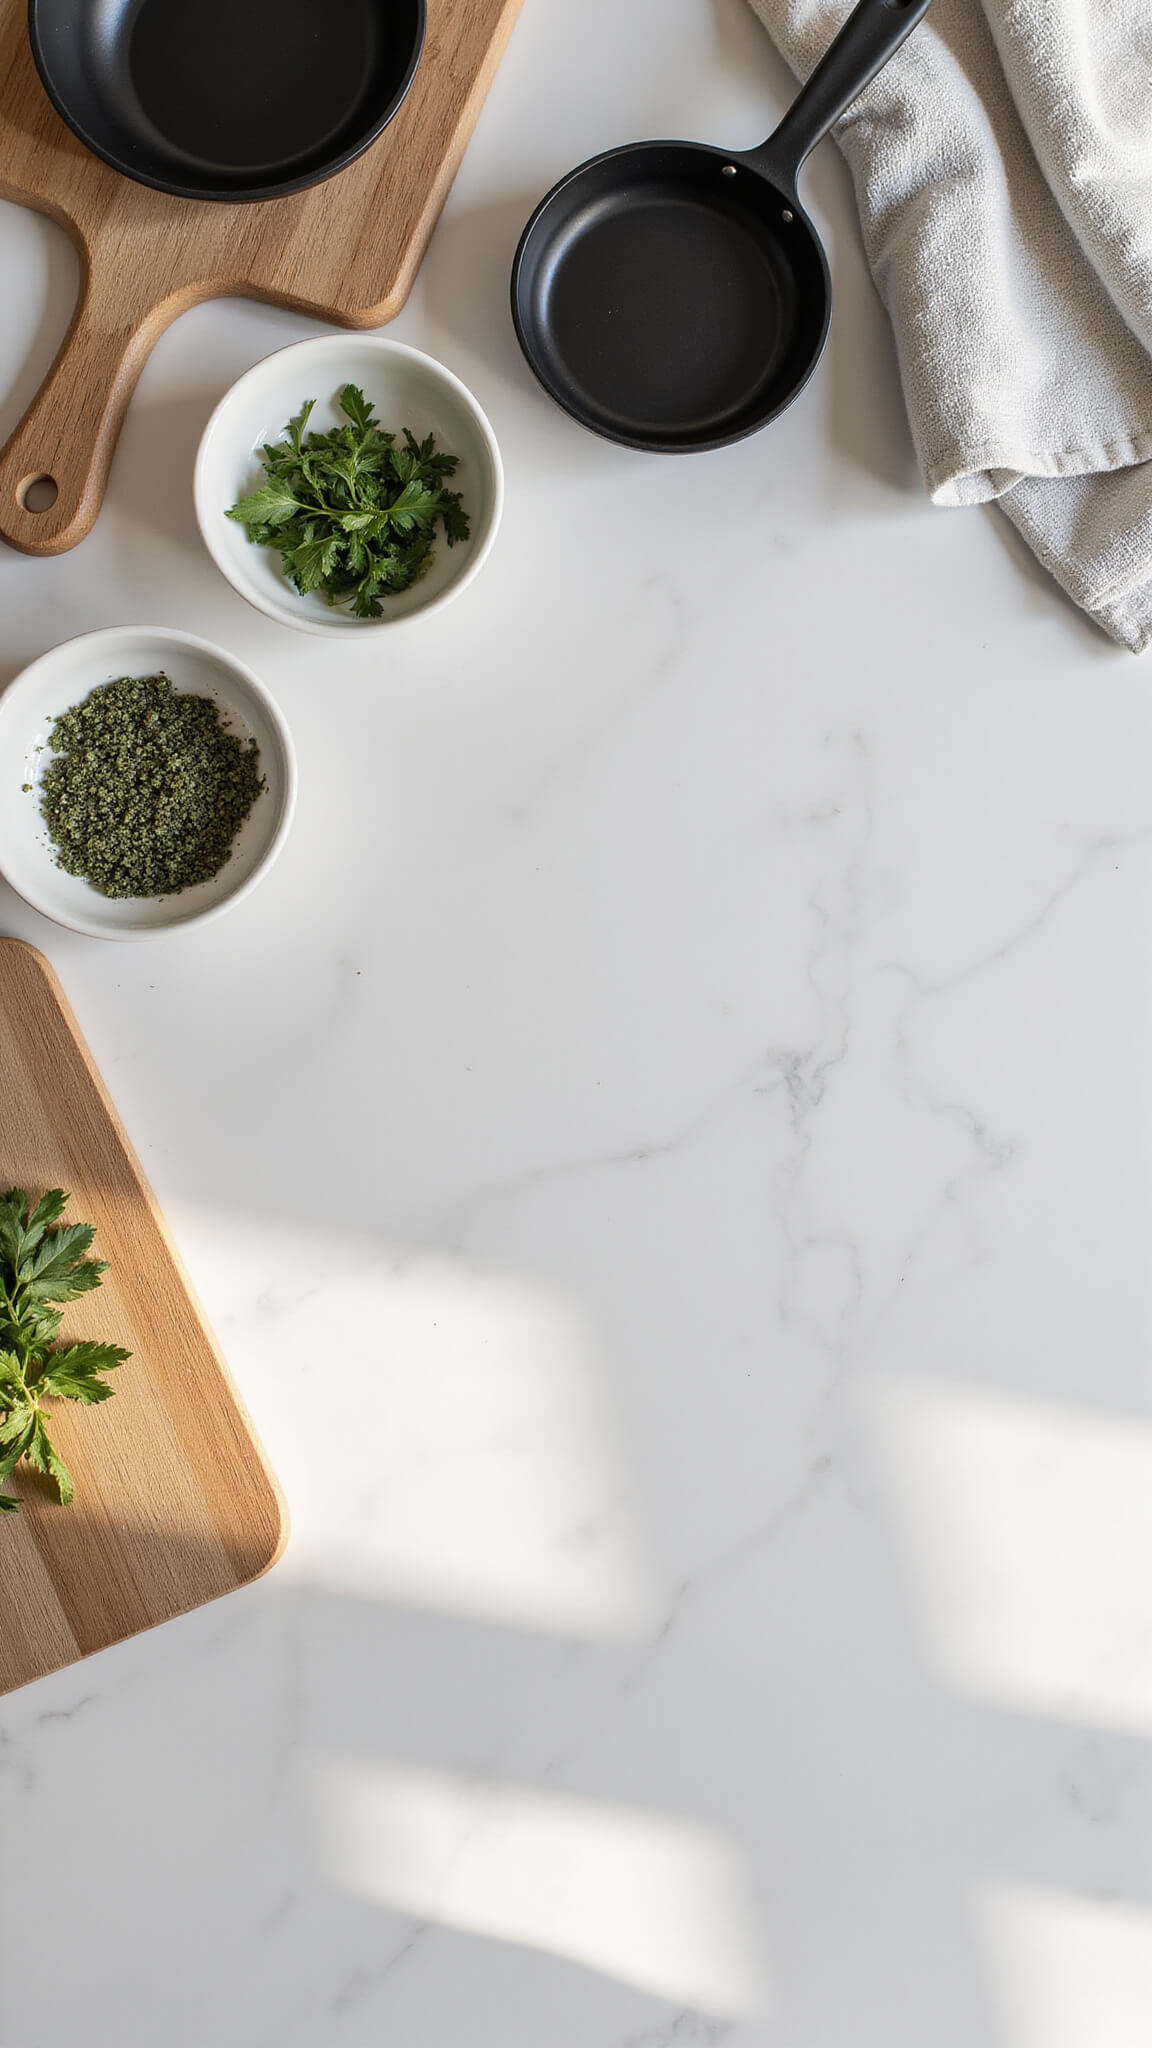
- Wooden elements: cutting boards, utensils, small stools
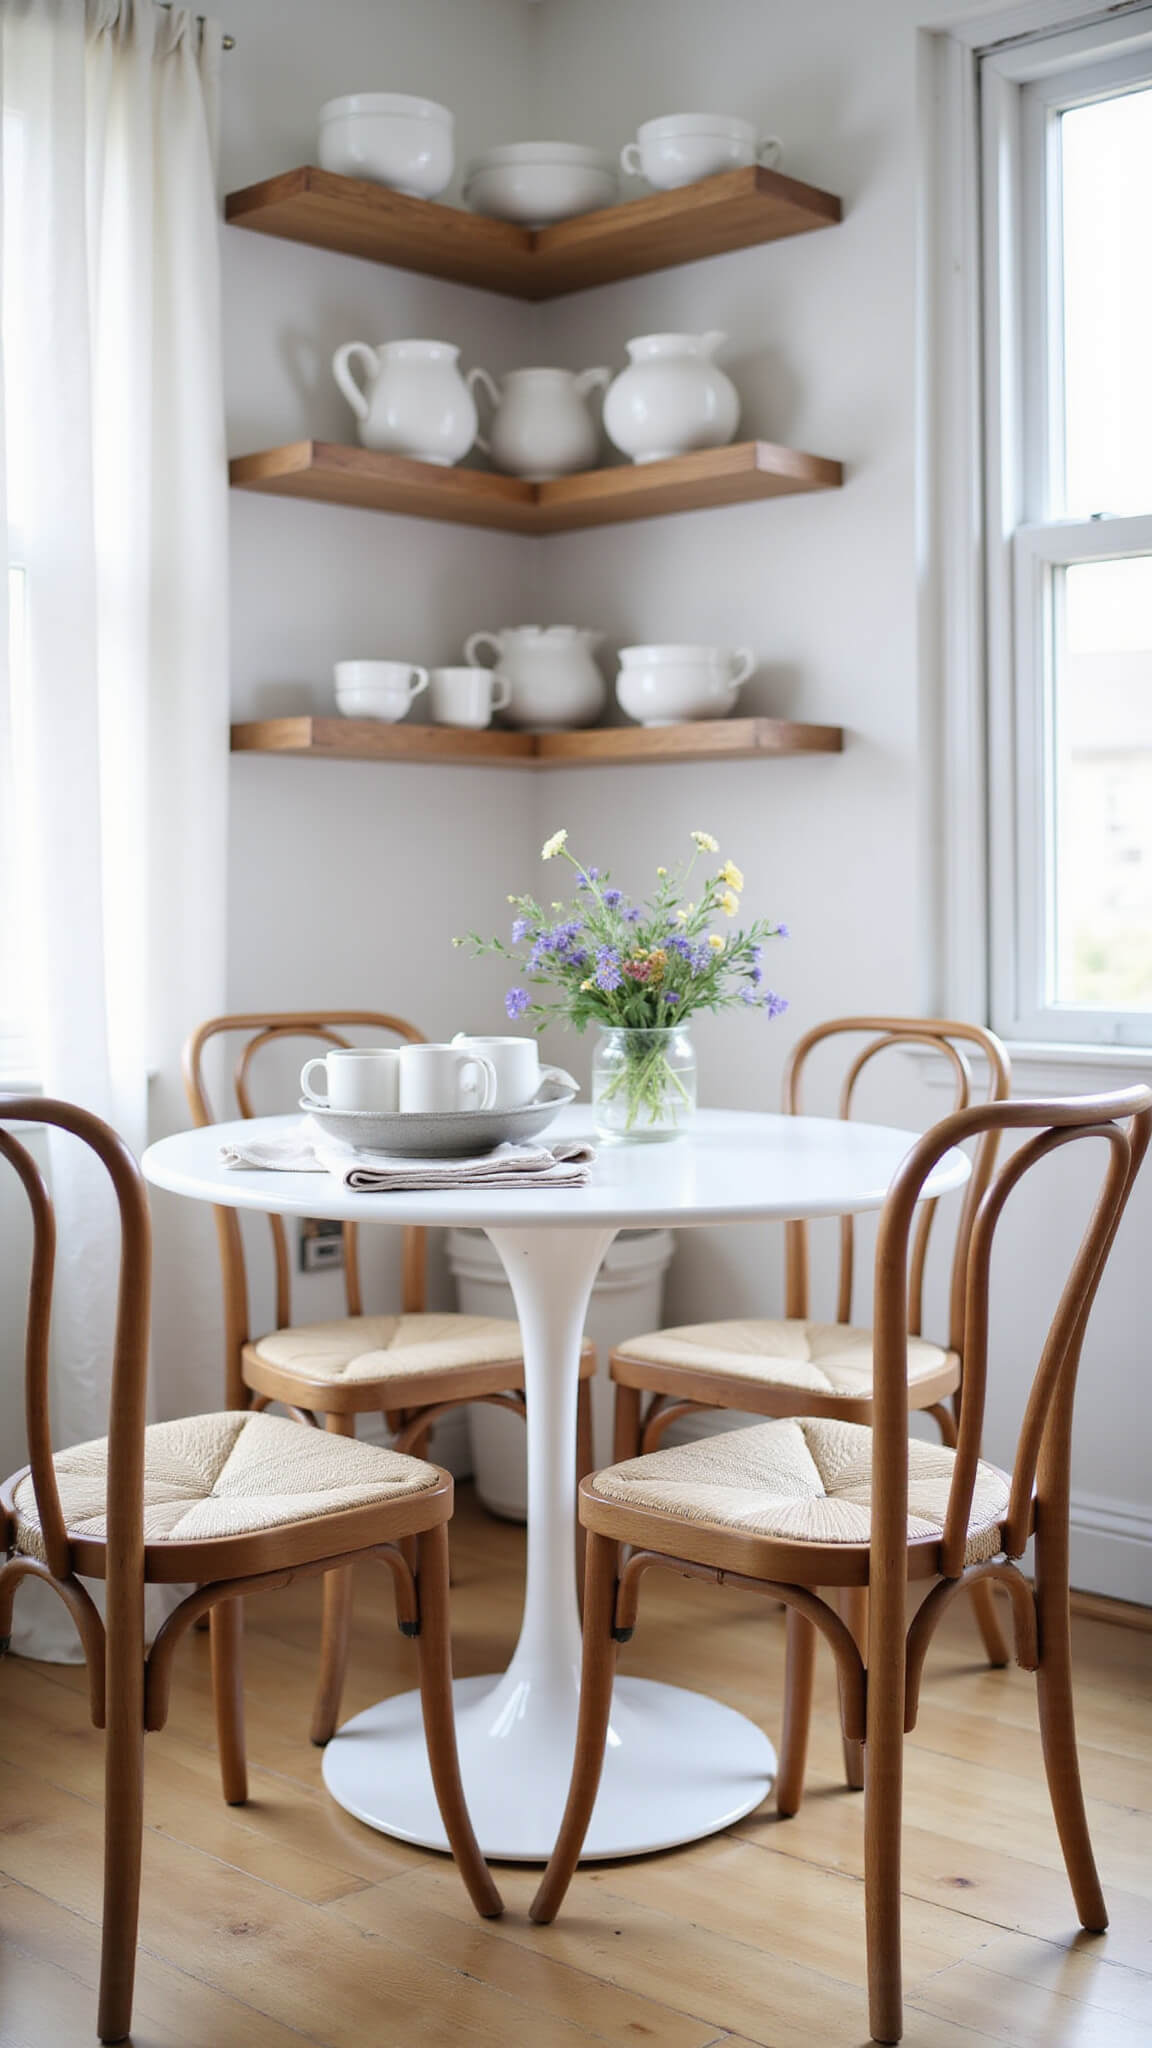
- Ceramic pieces: simple white plates, matte finish mugs
- Glass containers: for displaying pantry staples
- Textile accents: linen tea towels in neutral tones
- Greenery: potted herbs or simple botanical arrangements
My favorite Nordic styling trick involves grouping similar items in threes – perhaps a wooden cutting board leaning against the backsplash, a ceramic pitcher, and a small potted herb. This creates visual interest without clutter.
Creating the Perfect Nordic Kitchen Color Palette
Getting the color palette right is crucial for an authentic Nordic kitchen. I’ve experimented with countless variations over the years, and the most successful Nordic kitchens stick to this formula:
Base (70-80% of space):
- White (walls, cabinetry)
- Light wood tones (flooring, open shelving)
- Soft grays (countertops, backsplashes)
Accents (20-30% of space):
- Natural greens (plants, herbs)
- Black (minimal hardware, lighting fixtures)
- Occasional blues (ceramics, textiles)
The key is restraint. I once made the mistake of introducing too many accent colors, and my kitchen immediately lost that calm Nordic feel. When in doubt, remove rather than add.
Styling Your Nordic Kitchen: A Step-by-Step Guide
1. Clear and Clean
First, remove everything from your countertops. And I mean everything. A truly Nordic kitchen starts with clean, open spaces. I typically spend an hour just decluttering before any actual styling begins.
2. Assess Your Canvas
Look at your kitchen with fresh eyes:
- What permanent elements work with the Nordic aesthetic?
- What elements clash and need disguising?
- Where are your natural focal points?
In my first apartment, I had horrible orange-toned cabinets that fought against my Nordic vision. Rather than replacing them (hello, rental life), I minimized their visual impact by drawing attention to my beautifully styled open shelving instead.
3. Introduce Natural Materials
Nordic design celebrates natural materials, especially wood. Add:
- Wooden cutting boards of varying sizes
- Simple wooden utensils in crocks
- Woven baskets for storage
- Stone or concrete accessories for texture
I found an incredible vintage wooden bread bowl at a flea market that became the heart of my Nordic kitchen – sometimes one perfect piece can anchor your entire design.
4. Add Thoughtful Touches
The final layer involves those small details that make the space feel lived-in but not cluttered:
- A single bud vase with greenery
- Stacked linen napkins
- A carefully arranged fruit bowl (stick to one type of fruit for a cleaner look)
- Handmade ceramic spoon rest
Remember, in Nordic styling, each item should earn its place through both function and beauty.
Capturing Your Nordic Kitchen: Photography Tips
Once you’ve styled your Nordic kitchen, you’ll want to capture it beautifully. Here are my tried-and-true photography tips:
- Shoot in natural light whenever possible, avoiding harsh midday sun
- Turn off overhead lighting to prevent color casts
- Try different angles – overhead shots work particularly well for styled countertops
- Focus on vignettes rather than trying to capture the entire kitchen at once
- Edit with a light touch, enhancing brightness and clarity without sacrificing the natural feel
My most successful kitchen photos have always been those taken in early morning light, with a slight overhead angle to showcase the textures and materials.