Whitewashing Oak Cabinets: The Ultimate Home Decor Transformation Guide
Tired of those dark, dated oak cabinets making your kitchen feel like a time capsule? I’m about to show you how to breathe new life into your space with the magic of whitewashing.
Why Whitewashing Oak Cabinets is Your Secret Decor Weapon
Whitewashing isn’t just a trend – it’s a game-changing technique that can:
- Instantly brighten your space
- Add a fresh, modern farmhouse vibe
- Completely transform your kitchen’s aesthetic
- Save thousands compared to full cabinet replacement
What You’ll Need: The Ultimate Whitewashing Toolkit
Essential Supplies:
- Sandpaper (120 and 220 grit)
- White latex paint
- Water
- Paintbrushes
- Rags
- Drop cloths
- Protective gear (gloves, mask)
Budget-Friendly Breakdown
Total Project Cost: $100-$300
Time Investment:
- Prep work: 2-3 hours
- Painting: 3-4 hours
- Drying and finishing: 24 hours
Step-by-Step Whitewashing Magic
1. Prep Like a Pro
- Remove cabinet doors and hardware
- Clean surfaces thoroughly
- Sand cabinets to create a smooth base
- Pro Tip: Don’t skip sanding – it’s crucial for paint adhesion!
2. Create Your Whitewash Mix
Basic Whitewash Recipe:
- 1 part white latex paint
- 1-2 parts water
- Mix until you achieve a slightly translucent consistency
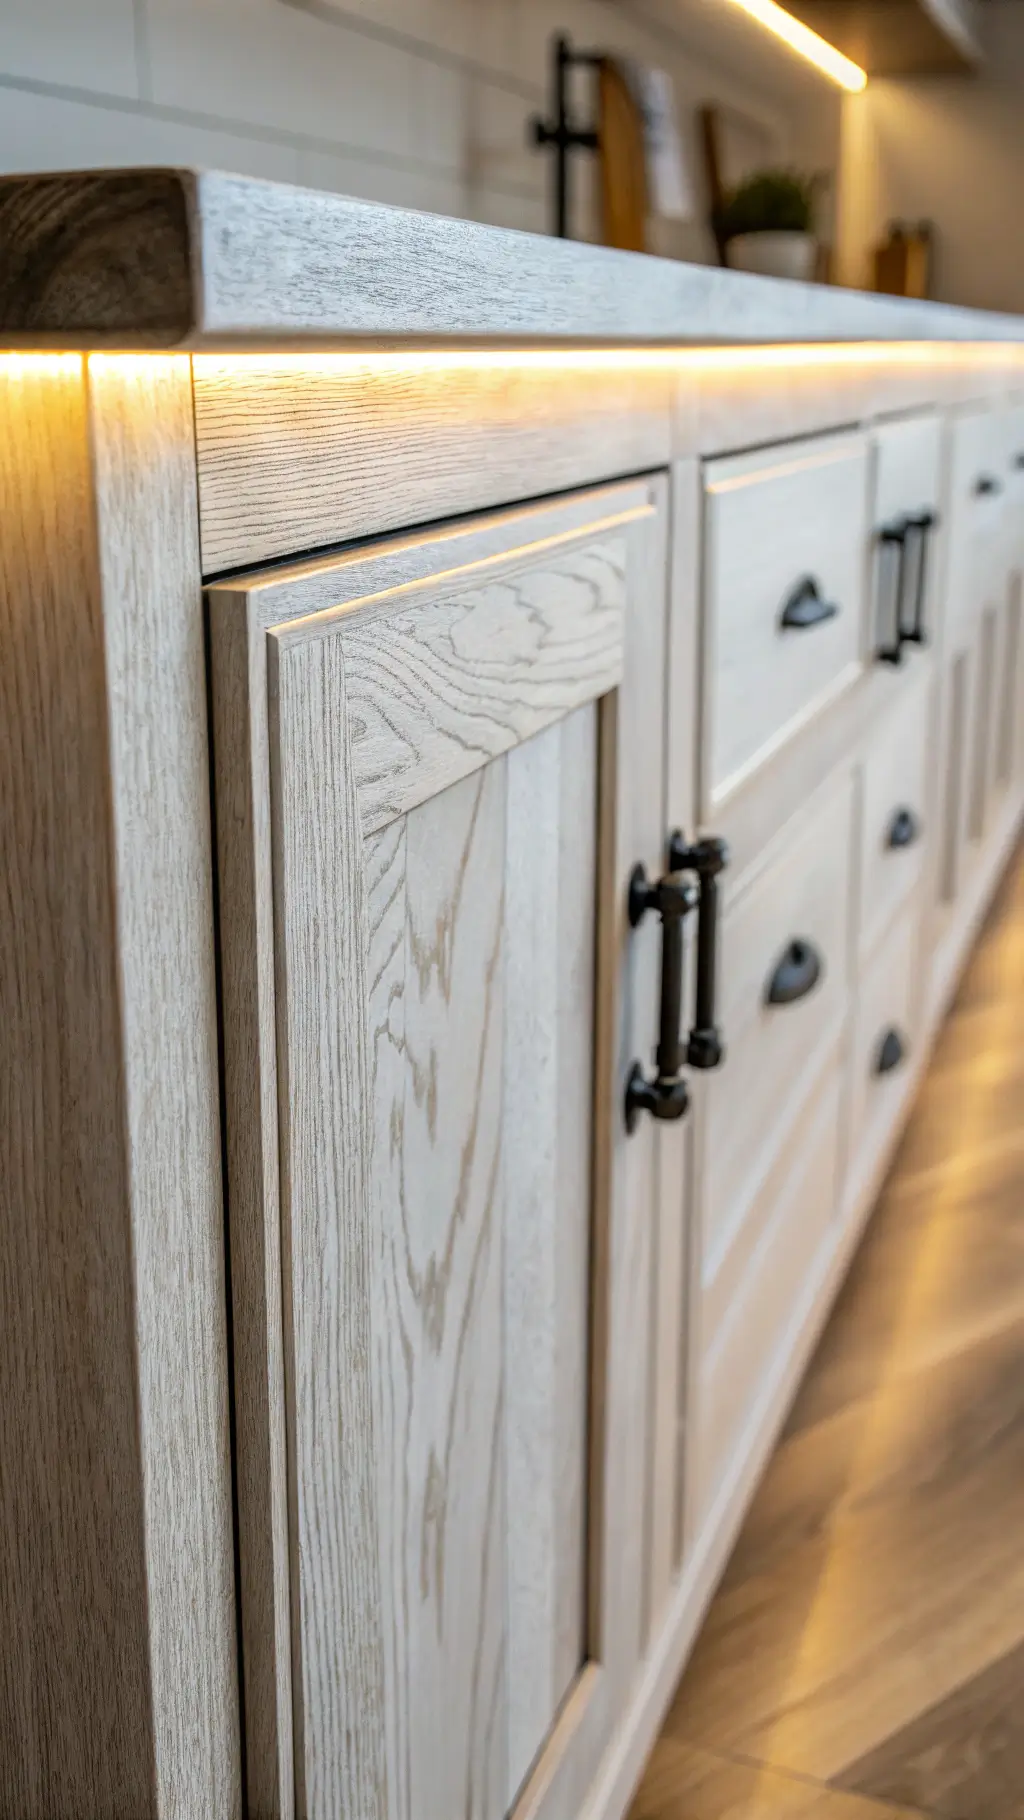
3. Application Techniques
Whitewashing Styles:
- Soft Wash: More water for a subtle, barely-there look
- Heavy Wash: Less water for more opaque coverage
- Technique Tip: Always test on a hidden area first!
Application Method
- Apply whitewash with a brush
- Immediately wipe with a rag
- Work in small sections
- Allow natural wood grain to peek through
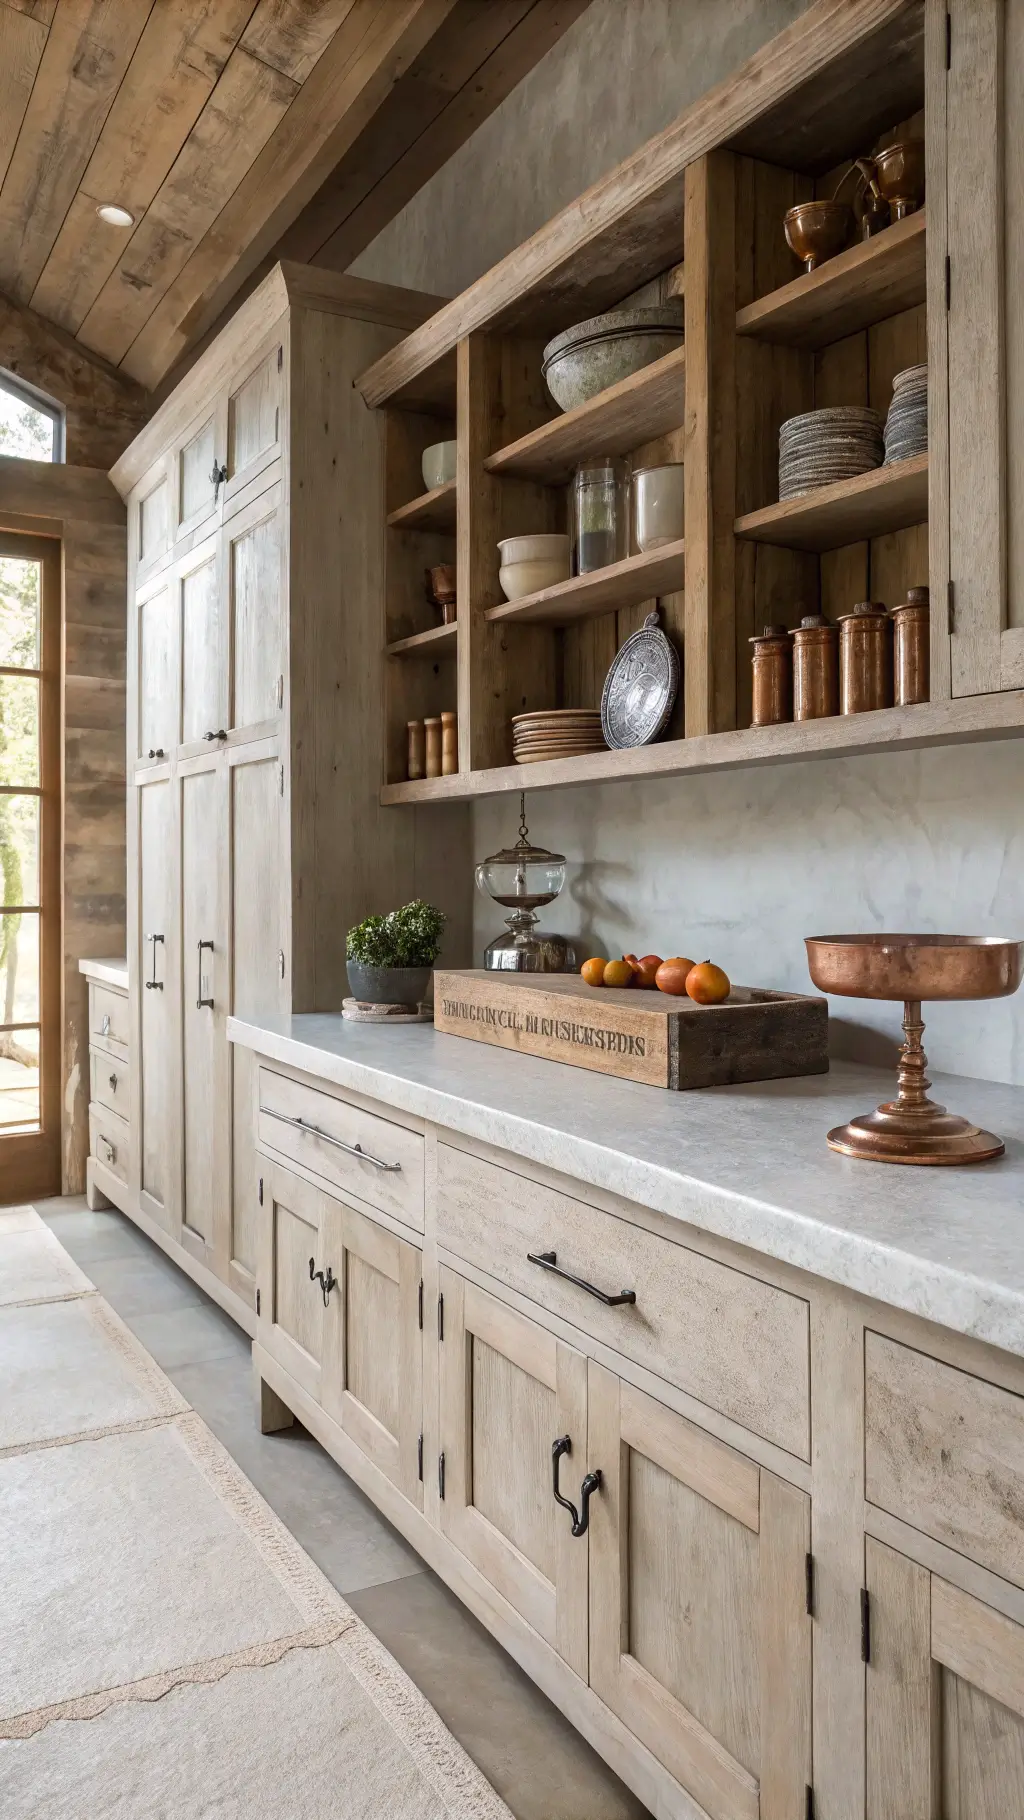
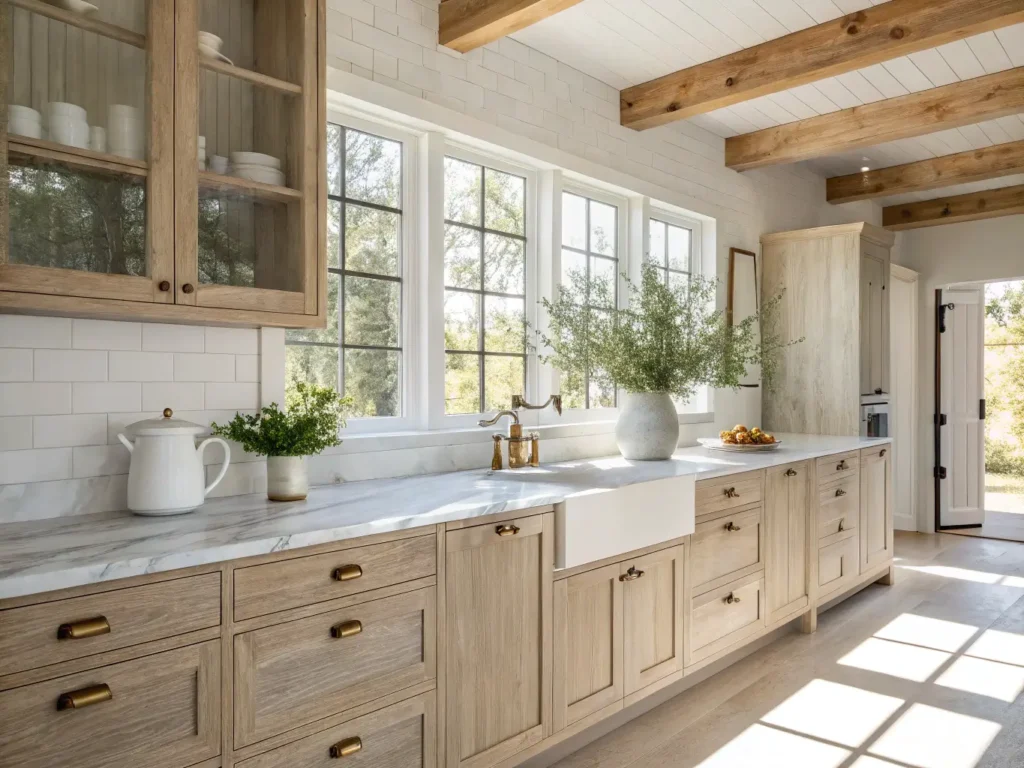
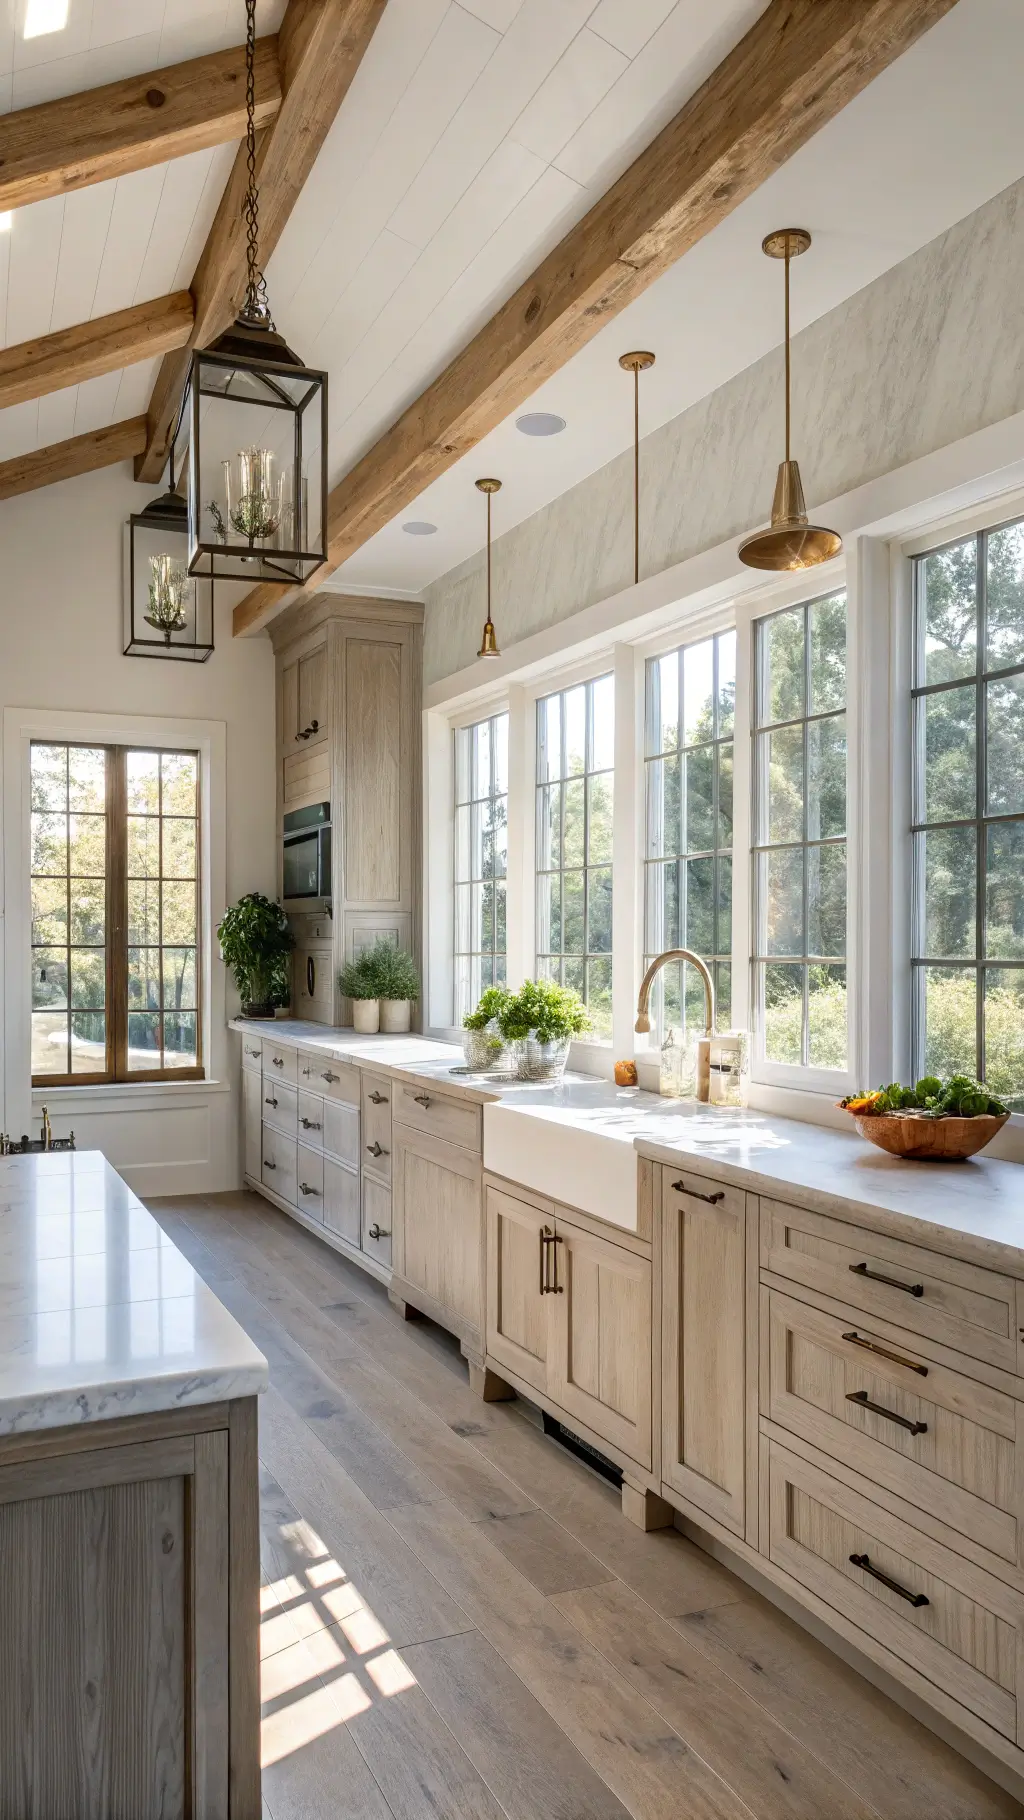
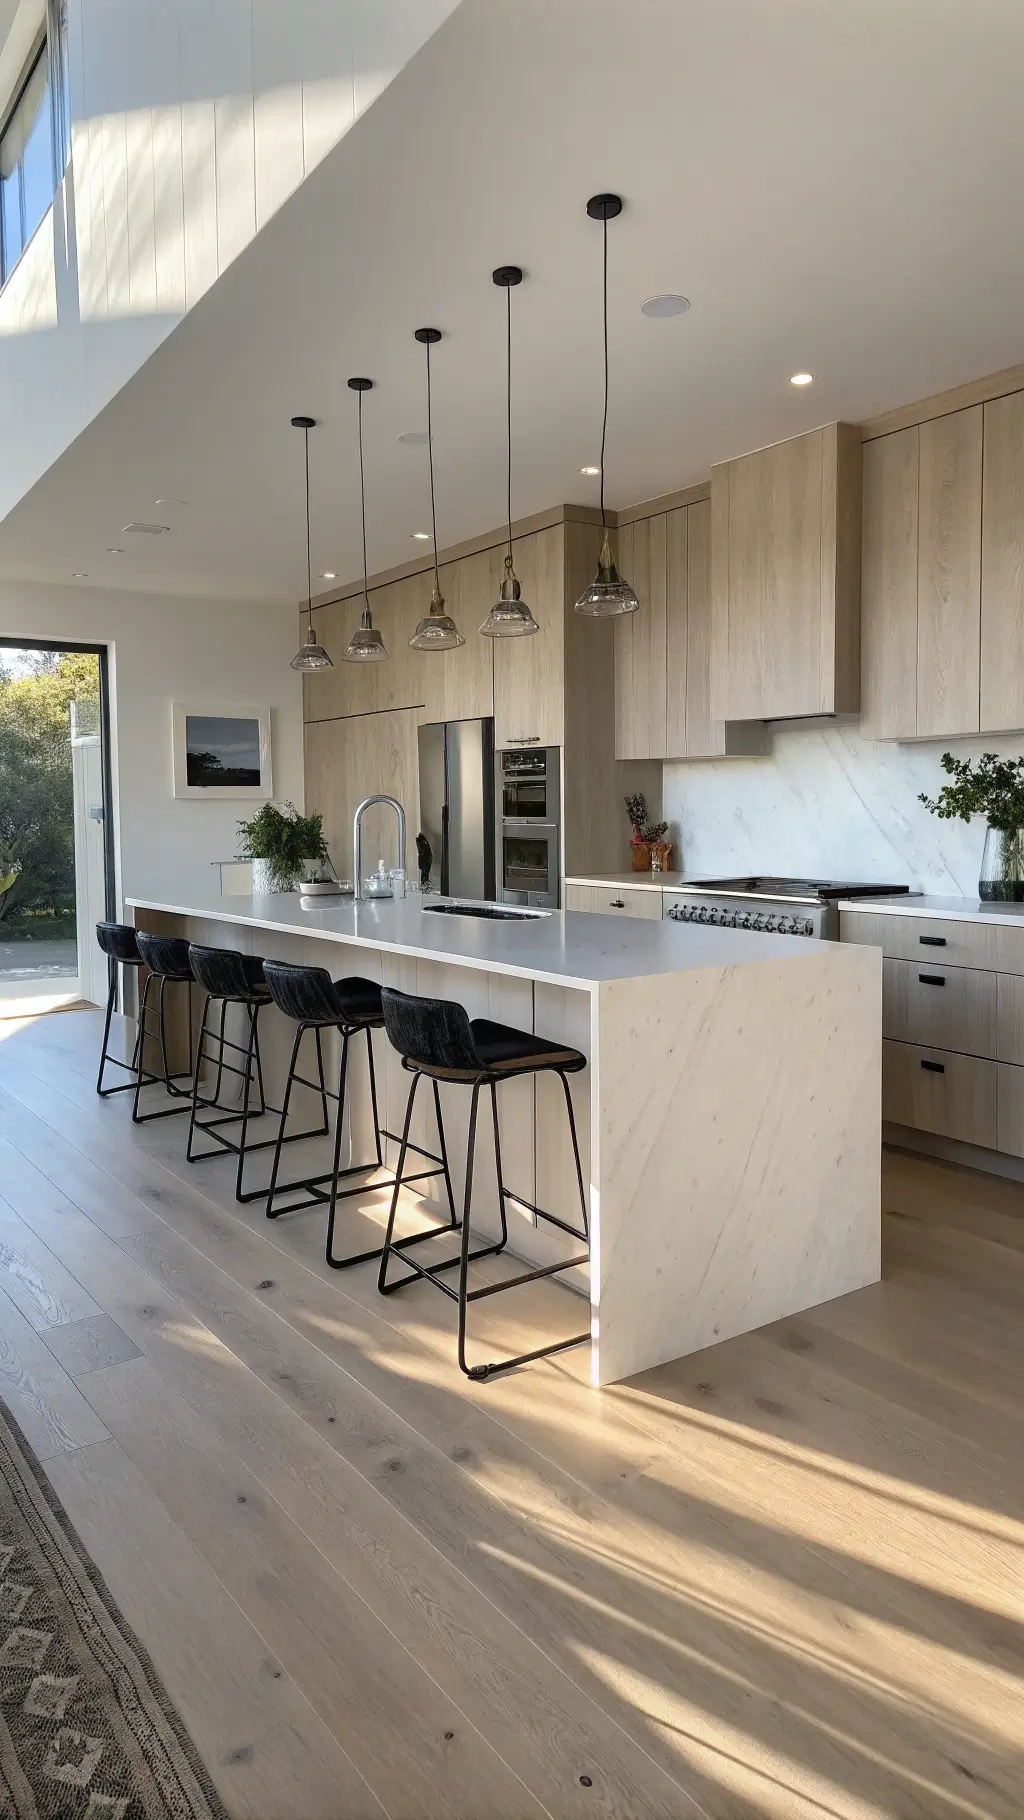
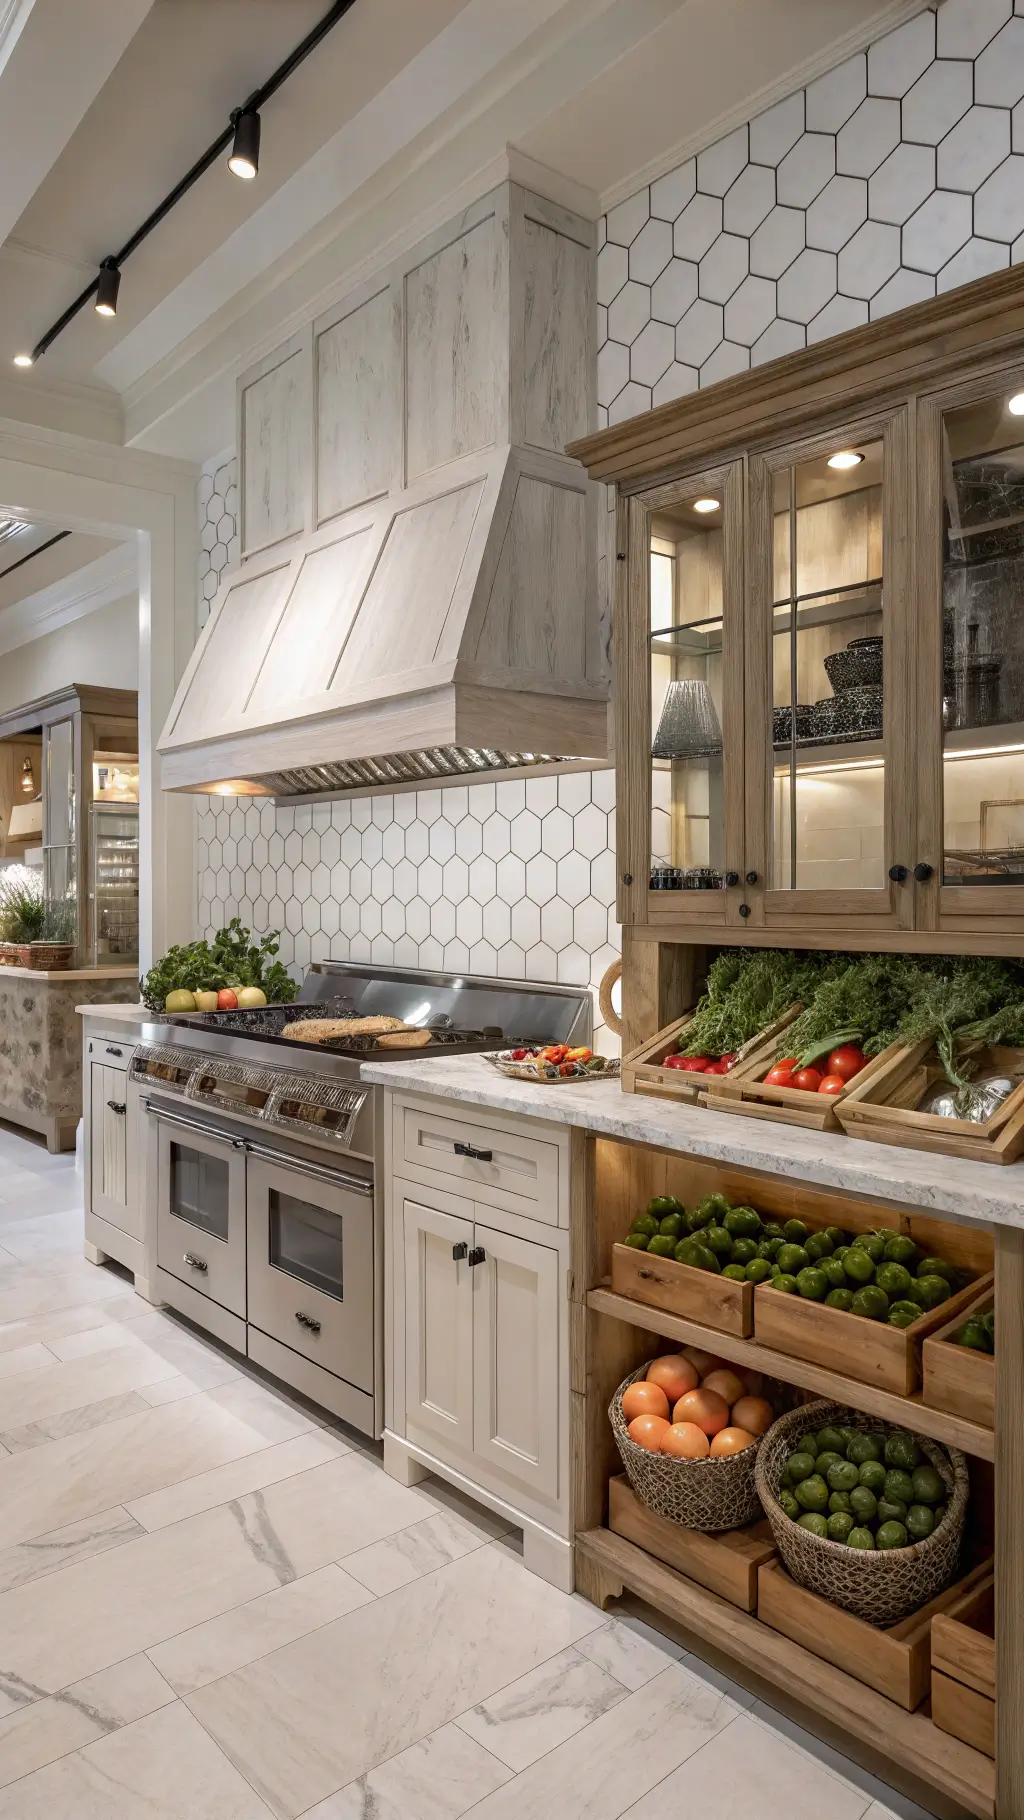
Design Styles That Rock Whitewashed Cabinets
Perfect For:
- Farmhouse Chic
- Coastal Modern
- Scandinavian Minimalist
- Rustic Contemporary
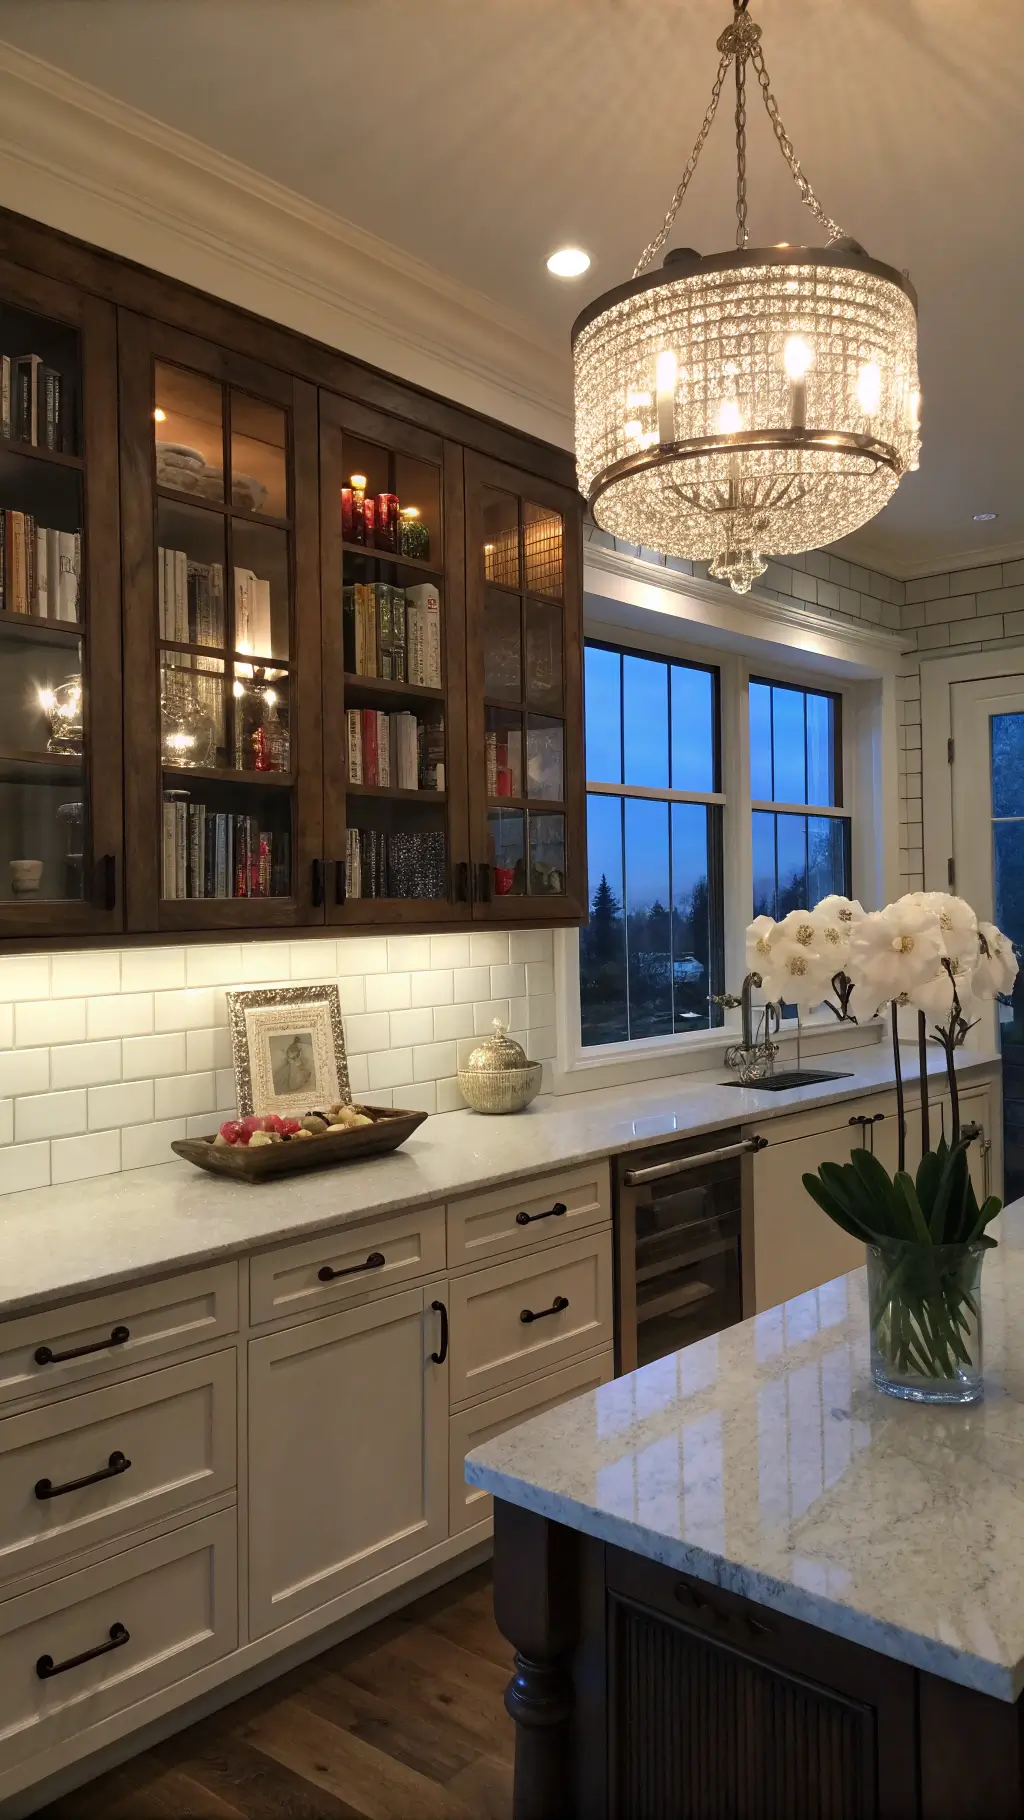
Styling Your Newly Whitewashed Cabinets
Complementary Elements:
- Brass or matte black hardware
- Natural wood accents
- White marble countertops
- Green plants for contrast
Common Mistakes to Avoid
Whitewashing Pitfalls:
- Skipping surface preparation
- Using the wrong type of paint
- Applying too thick or too thin
- Not protecting the finish
Maintenance Tips
Keeping Your Cabinets Looking Fresh:
- Use mild, non-abrasive cleaners
- Avoid harsh chemicals
- Touch up as needed
- Apply a clear sealant for extra protection
When to Call a Pro
Consider professional help if:
- You’re not comfortable with DIY projects
- Your cabinets have extensive damage
- You want a perfectly uniform finish
Final Thoughts
Whitewashing oak cabinets is more than just a paint job – it’s a complete room transformation. With some patience, creativity, and these pro tips, you’ll create a space that looks like it jumped straight out of a design magazine.
Pro Tip: Take before and after photos. Trust me, you’ll want to show off your incredible makeover!
Bonus Challenge: Share your whitewashing journey on social media and inspire others to transform their spaces!