What You’ll Need (The Basics)
Before diving in, let’s gather our supplies:
Time Investment:
- Photography: 1-2 hours (trust me, you’ll want plenty of “before and after” shots)
- Styling: 2-3 hours (don’t rush this part!)
- Total project time: Plan for a full afternoon
For a Standard Living Room (around 14’x18′):
- Budget: $200-$1,500 depending on how fancy you wanna get
- Difficulty level: Moderate – you don’t need to be Joanna Gaines, but basic hanging skills help!
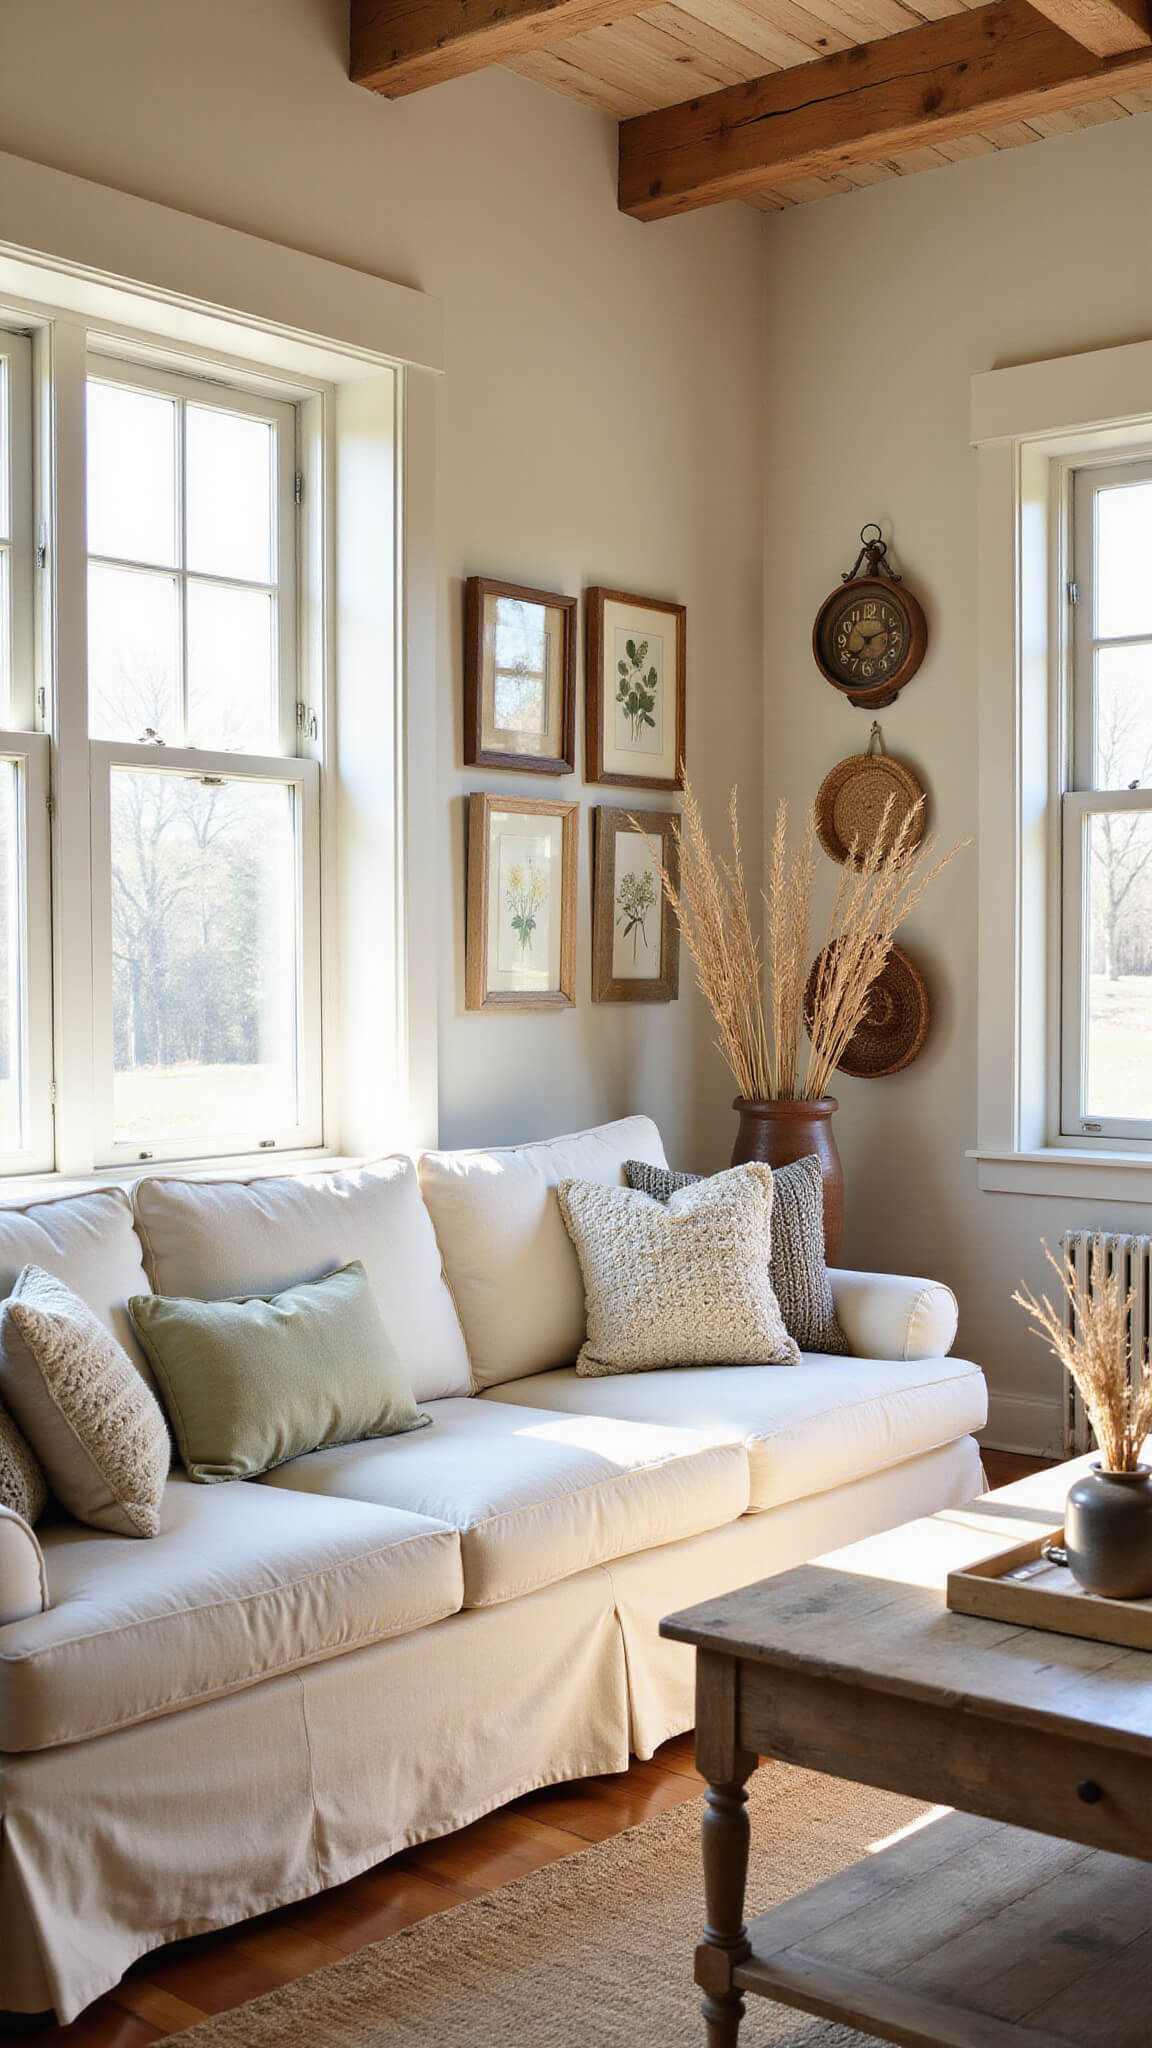
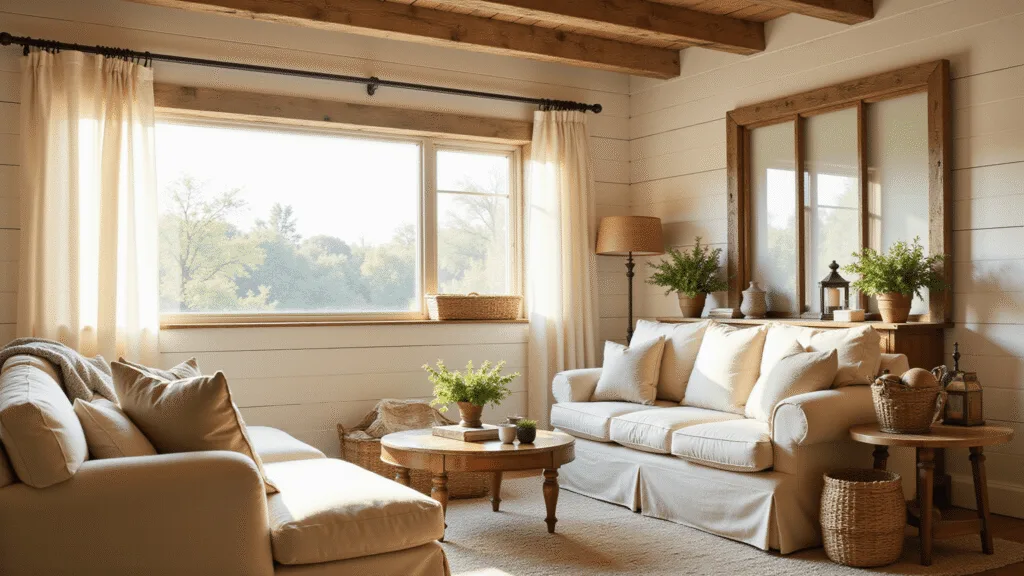
The Farmhouse Wall Decor Aesthetic
Farmhouse style isn’t just about slapping “Live, Laugh, Love” on your wall (though I’m not judging if that’s your jam).
The modern farmhouse look combines:
- Rustic elements with cottagecore influences
- Color palette: whites and beiges as your base, earthy tones like sage and terracotta for depth, and subtle blues/greens for interest
- Textures: lots of ’em – wood, metal, fabric, and natural elements
Essential Wall Elements That Scream “Farmhouse”
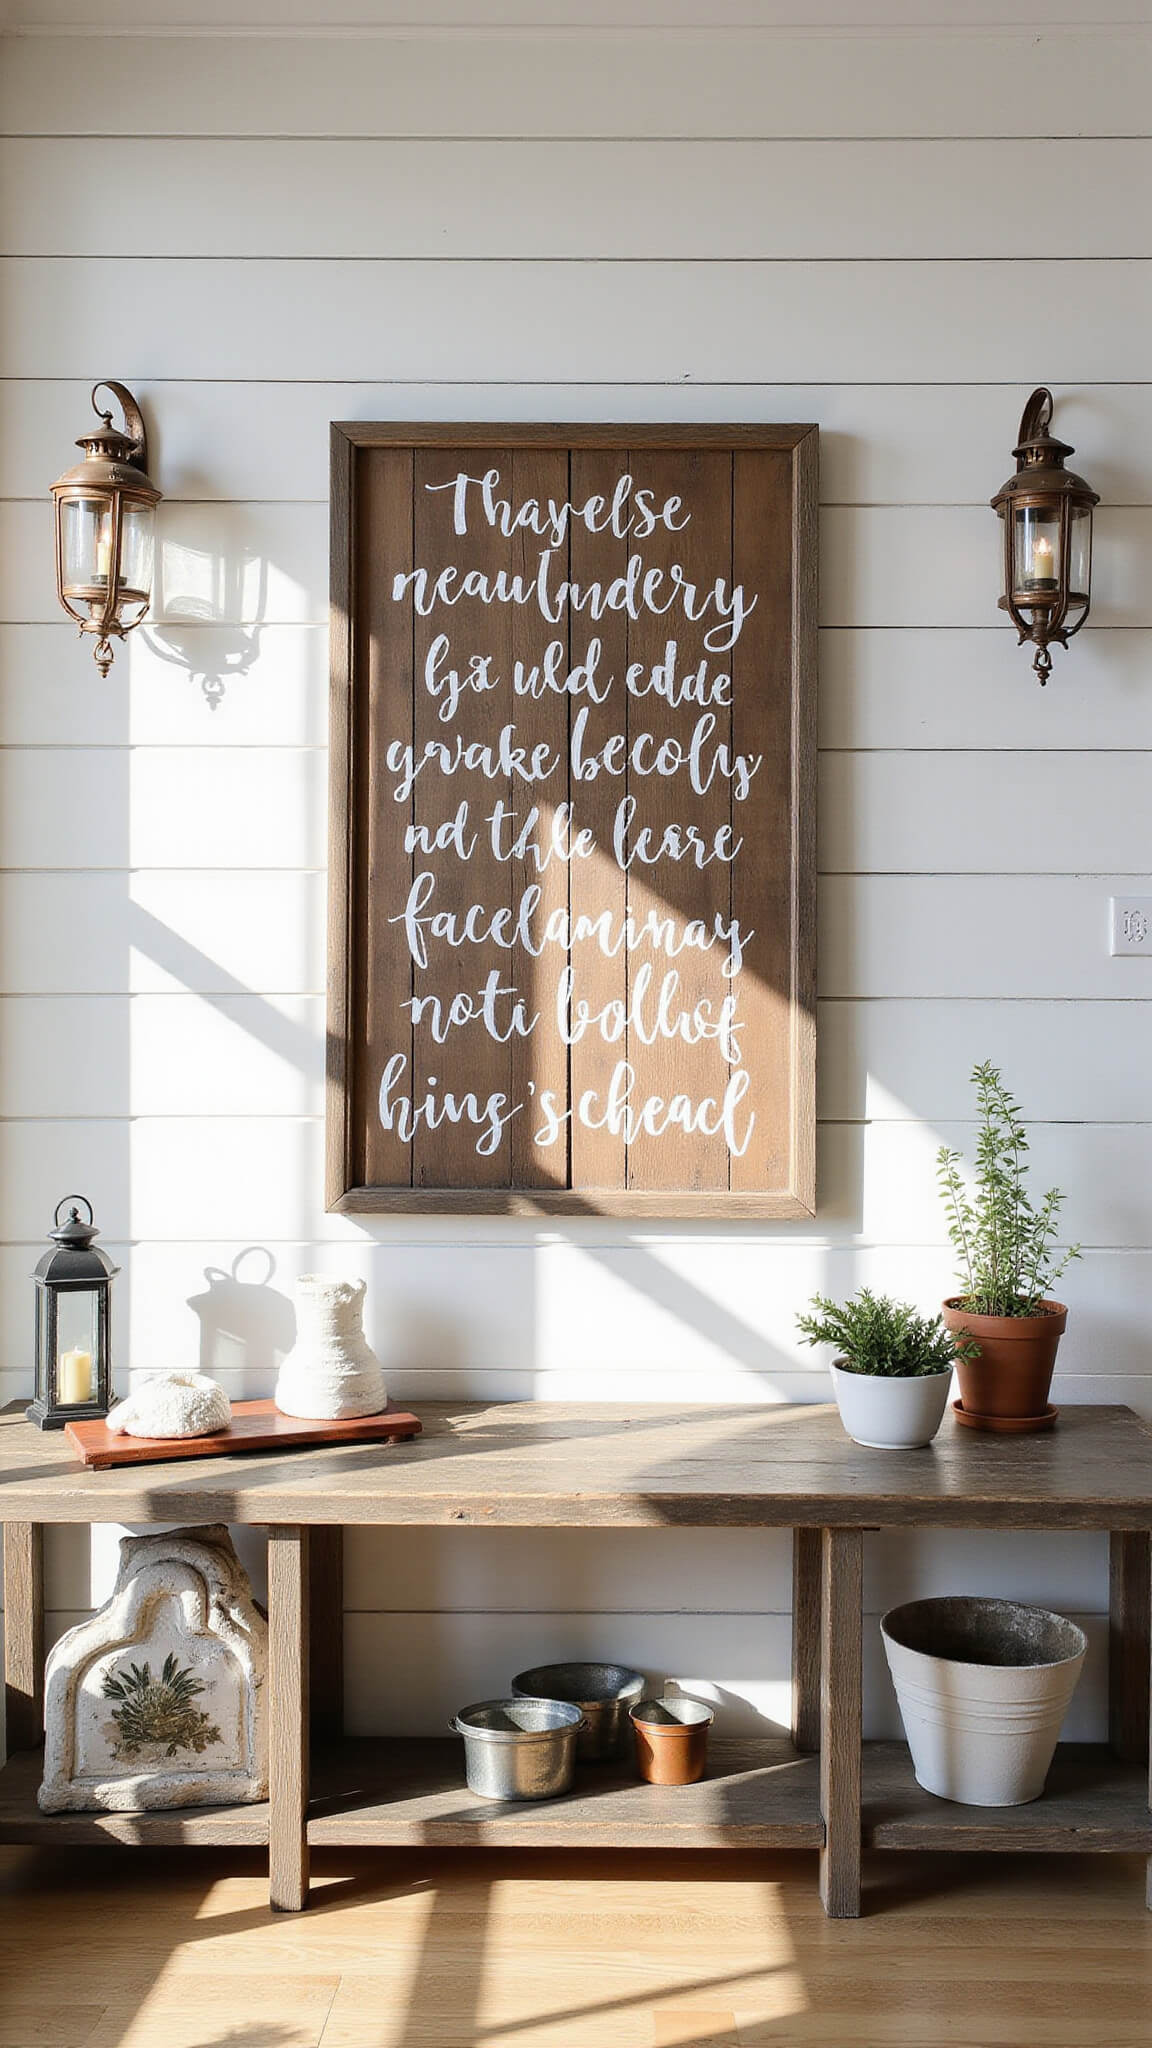
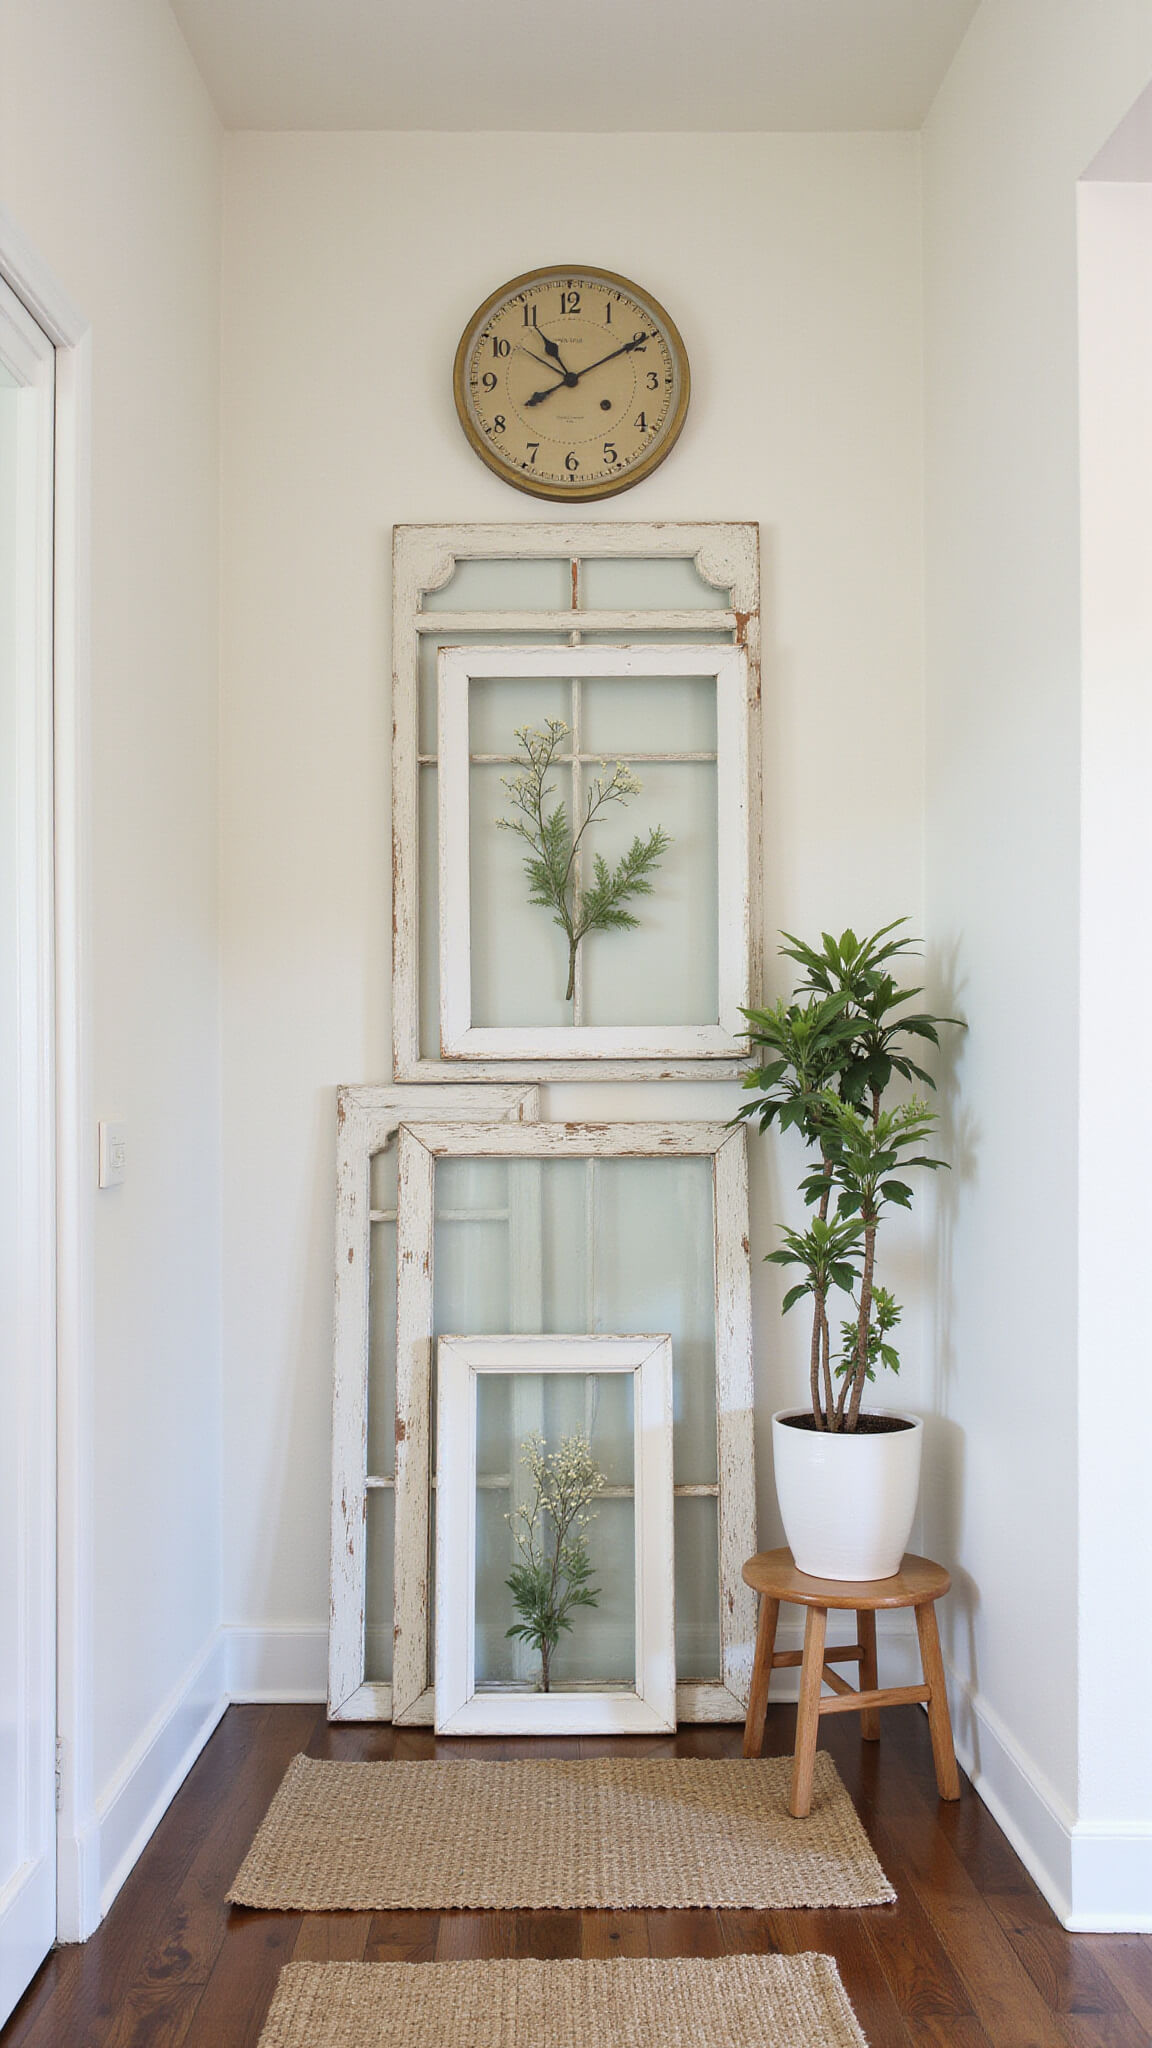
1. The Statement Piece
Every farmhouse wall needs a focal point. This could be:
- An oversized vintage window frame (with or without glass)
- Reclaimed wood sign with a simple phrase
- Large landscape art showing pastoral scenes
- Antique architectural salvage like corbels or ceiling tin
My neighbor Michelle found an old barn window at a yard sale for $15 and transformed it into the most gorgeous focal point by simply cleaning it up and hanging it above her sofa. Sometimes the best pieces require minimal effort!

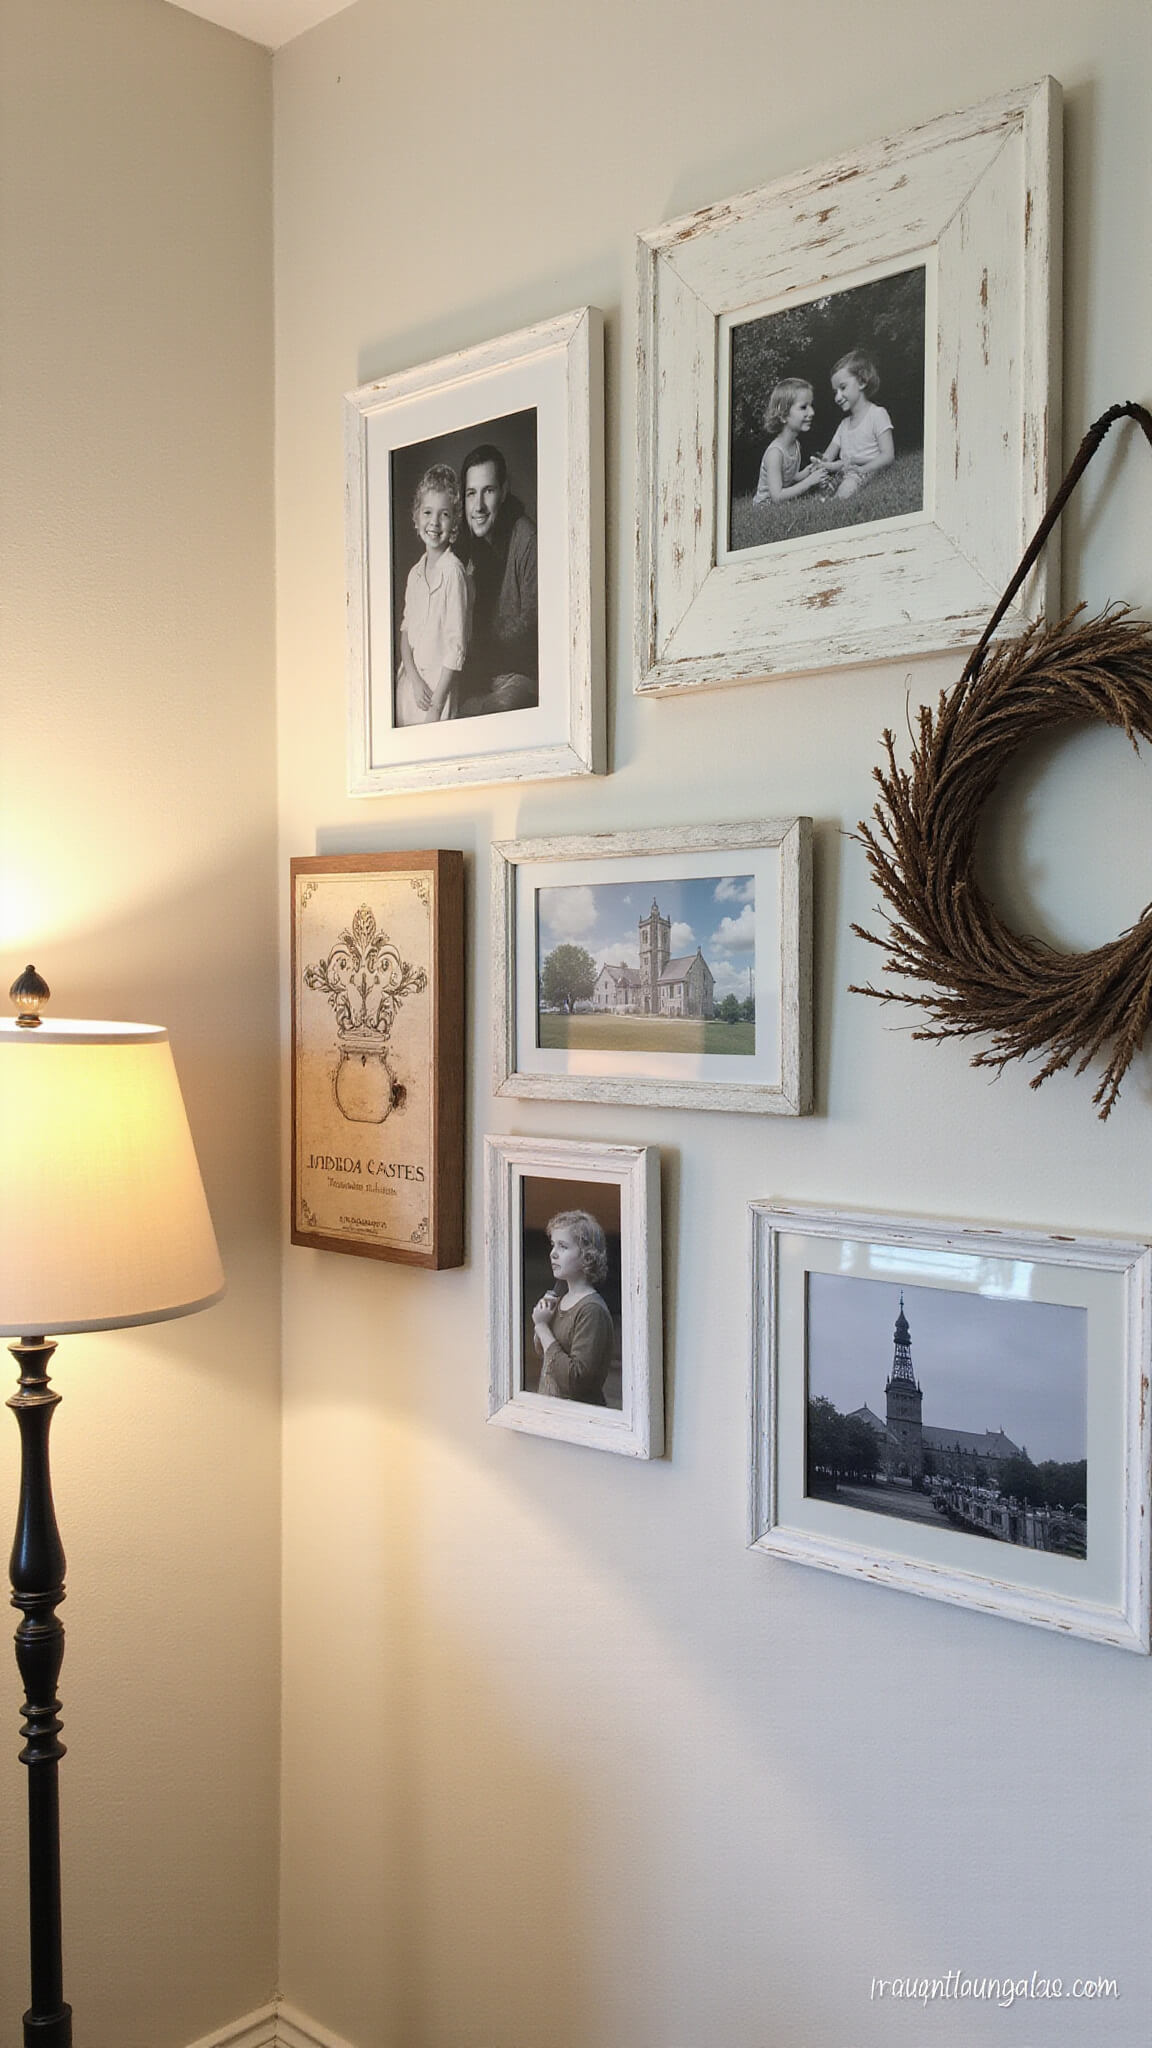
2. Gallery Wall Arrangements
Farmhouse gallery walls are less structured than modern ones. Mix and match:
- Vintage frames in varying sizes (don’t be afraid to mix woods and metals)
- Black and white family photos
- Simple botanical prints
- Small woven wall hangings or wreaths
Pro tip: Lay everything out on the floor first before putting holes in your wall. Take a picture of your arrangement so you remember where everything goes.
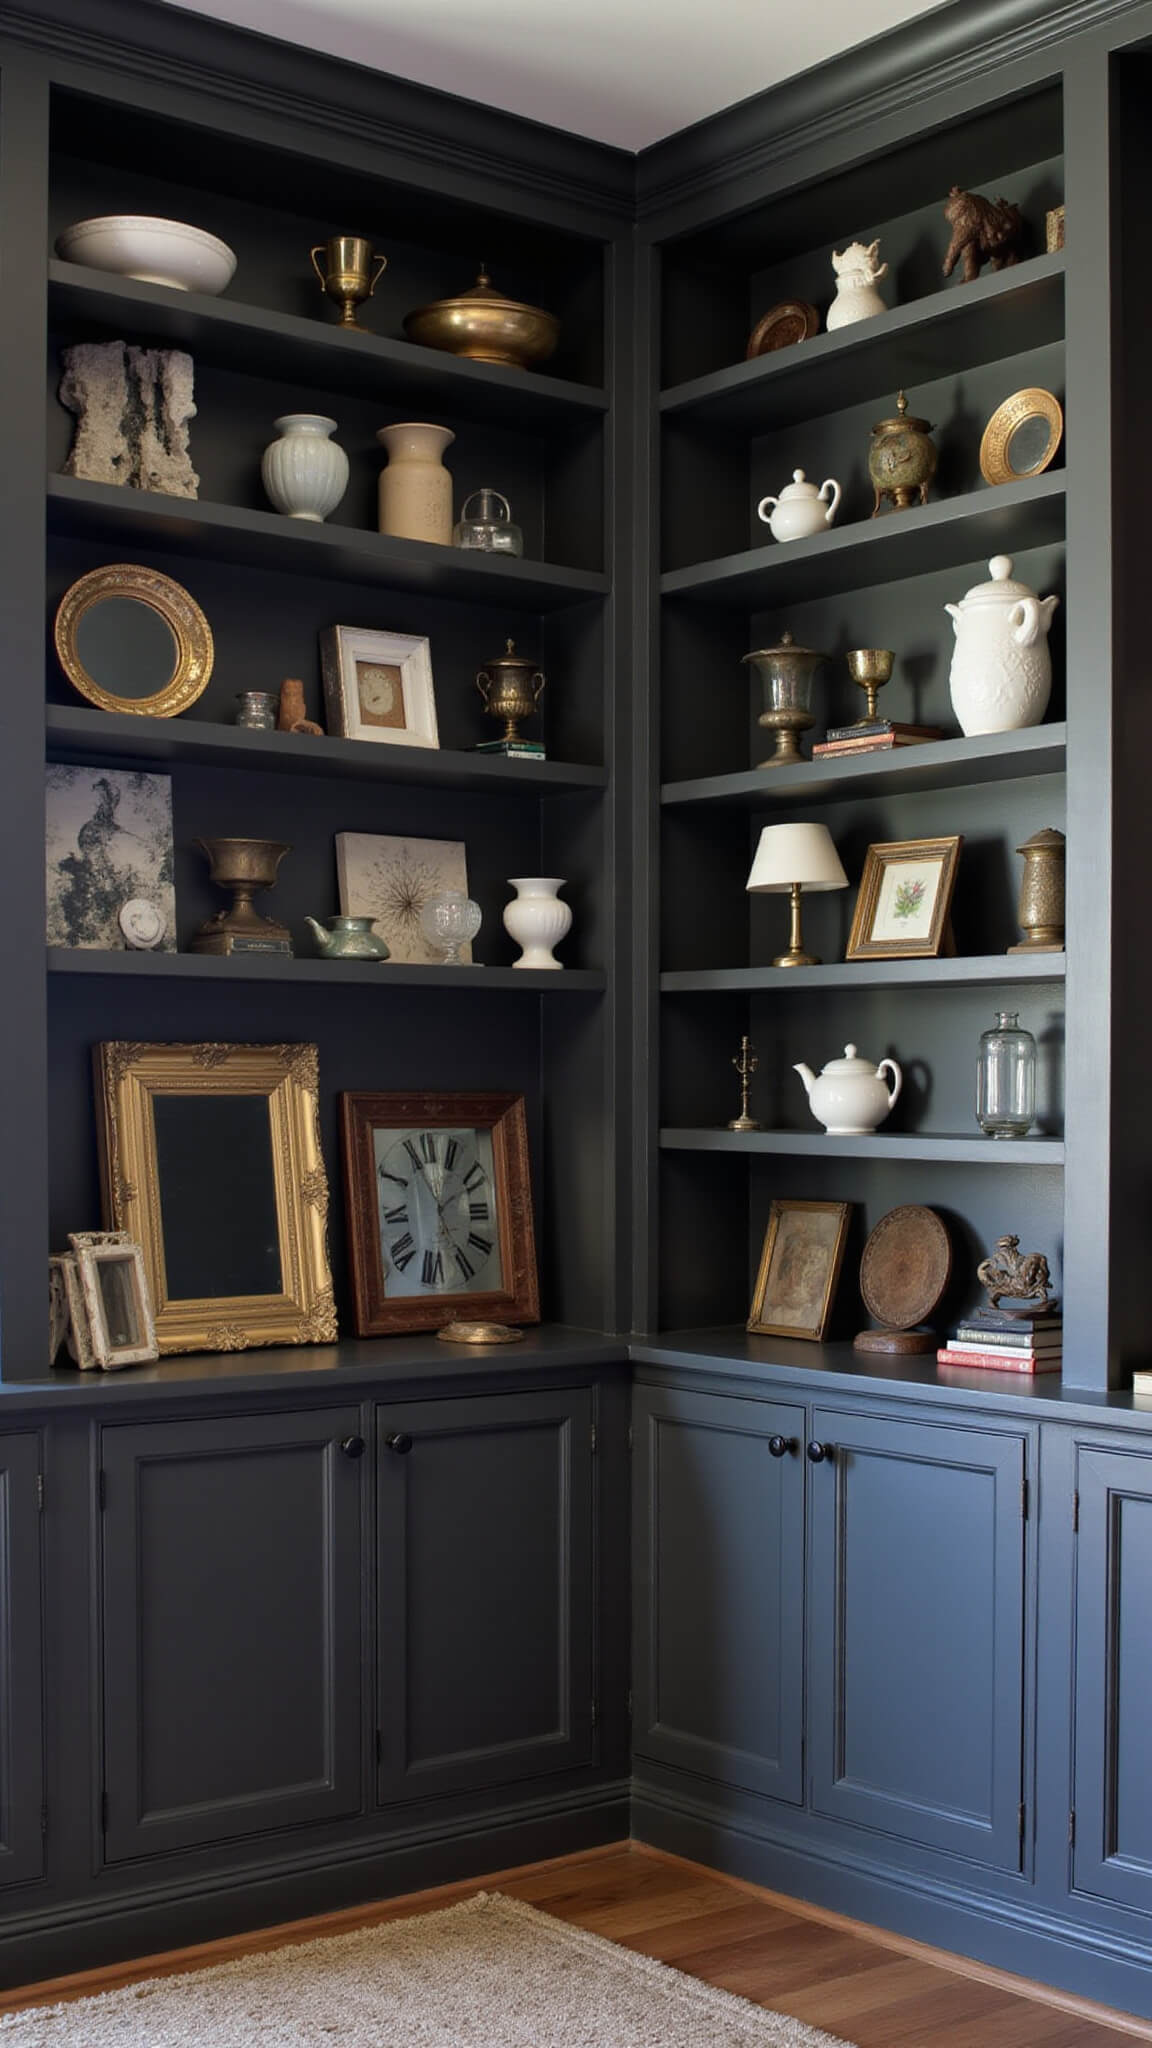
3. Shelving that Works
Floating shelves made from reclaimed wood are farmhouse gold. They’re perfect for:
- Displaying smaller decor pieces that would get lost on their own
- Creating seasonal vignettes
- Adding dimension to flat walls
When styling shelves, stick to the rule of threes – group objects in odd numbers for a more natural, pleasing arrangement.
Creating Your Perfect Farmhouse Wall: Step by Step
- Choose your anchor piece first
Start with the largest item that will be your focal point - Build around it with complementary pieces
Mix textures – rough wood, smooth glass, woven elements - Add layers of depth
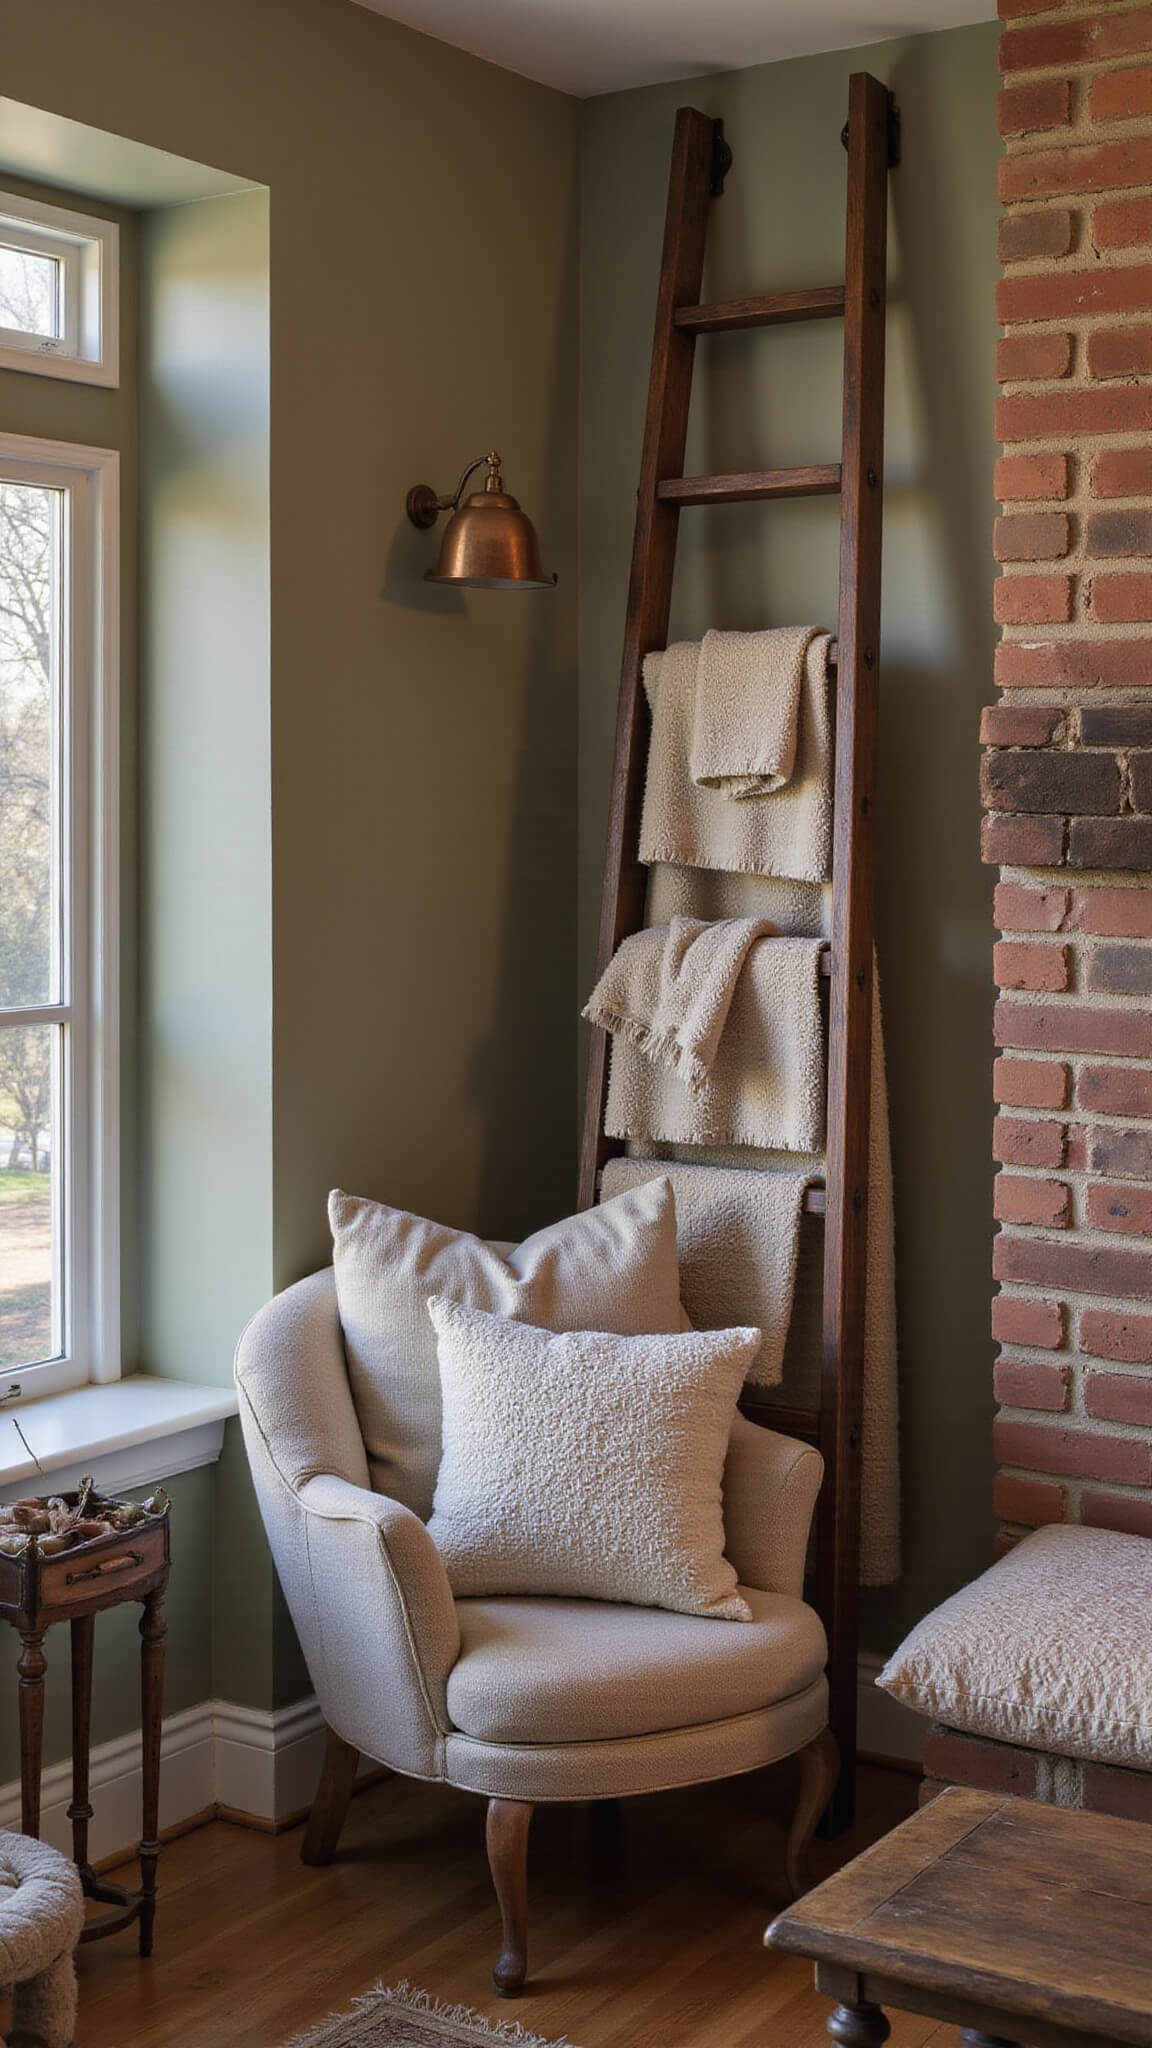
Include items that stand out from the wall at different distances - Incorporate unexpected elements
An old ladder as a blanket display, vintage kitchen tools, or antique signs - Balance symmetry with casual arrangement
Farmhouse style isn’t meant to be perfect – embrace slight imperfections!
I tried perfectly centering everything on my first attempt at a gallery wall. Big mistake! The charm of farmhouse decor is in the collected-over-time feel.
Styling Secrets for Authentic Farmhouse Walls
Texture Mixing
The key to farmhouse walls is texture contrast. Include:
- Rough elements: Weathered wood, burlap, woven baskets
- Smooth components: Glass frames, ceramic pieces, polished metal
- Soft touches: Linen, cotton, wool in wall hangings
The Color Strategy
For true farmhouse appeal:
- 60% neutral base (whites, creams, beiges)
- 30% earth tones (warm woods, terracotta, sage green)
- 10% accent colors (muted blues, soft blacks, gentle greens)
Seasonal Adaptations
Spring/Summer:
- Add botanical prints
- Incorporate lighter linens
- Include fresh or dried floral elements
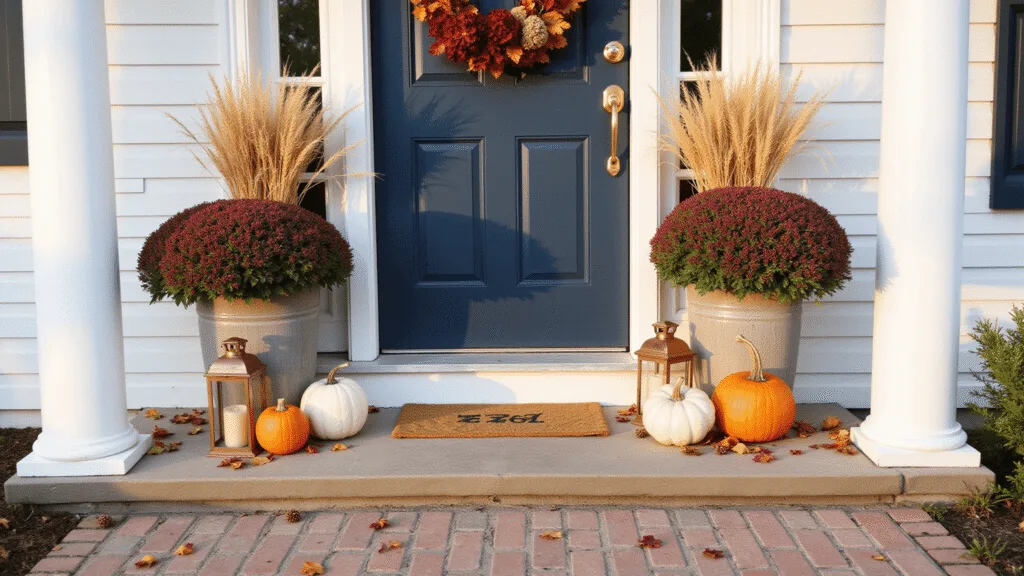
Fall:
- Swap in deeper earth tones
- Add wheat bundles or preserved leaves
- Incorporate plaid textiles in wall hangings
Winter/Christmas:
- Introduce deep greens and cranberry accents
- Add simple wreaths with subtle sparkle
- Layer in cozy textural elements like chunky knit hangings
DIY Farmhouse Wall Decor Projects
1. Weathered Wood Sign
What you’ll need:
- Pine board (1×10 or 1×12)
- White chalk paint
- Sandpaper
- Stencils or vinyl cut letters
- Dark wax or stain
Quick steps:
- Sand edges of board for a worn look
- Apply white paint (don’t be too perfect!)
- Let dry and lightly sand again
- Apply lettering